Bashing Kit Buildings
There can probably be a few different definitions of "kit bashing", but one would be that the directions are only a suggestion when building a kit. Kit bashing a locomotive usually means making substantial modifications to a manufactured locomotive that came fully built. But the majority of buildings on a layout are built from kits, so the term is a bit more literal with buildings. Almost all of the buildings on my layout have had at least some "enhancement".
I had thought for some time about how to set the buildings on the layout. I had a few concerns: They needed to be anchored. They needed to keep critters from moving in, including burrowing in from underneath (most kits give you buildings that are open on the bottom). They needed to be waterproof and may be wet on the bottom for extended periods of time.
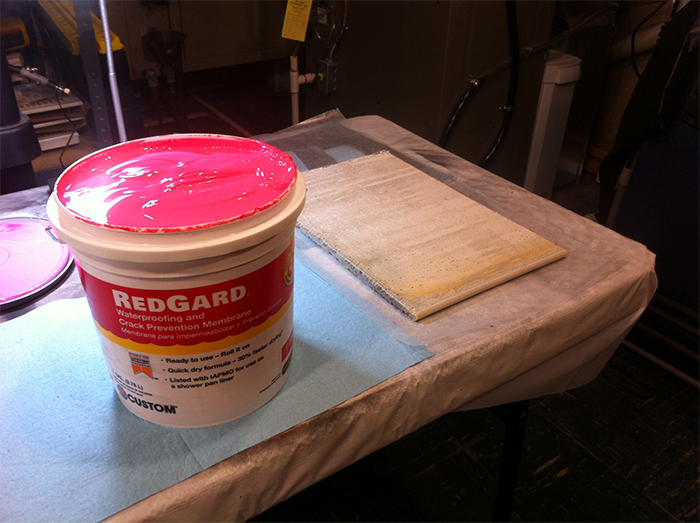
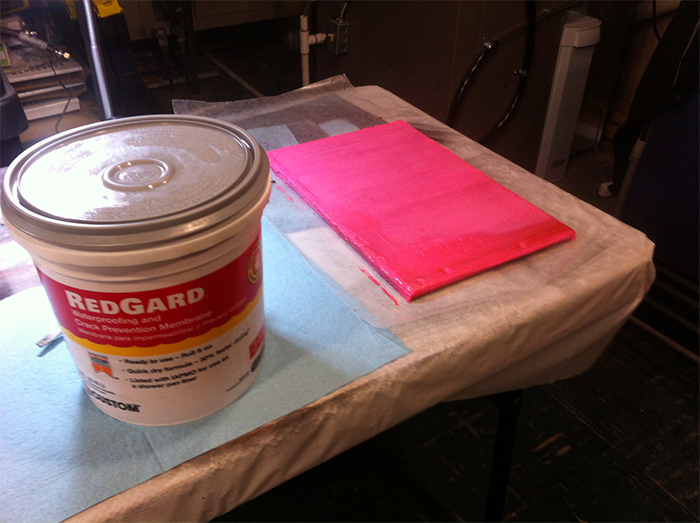
I decided that cement board coated with waterproofing would satisfy all of these needs. I start by cutting a piece big enough for the building plus any diorama I want attached to the building. Then coat it with RedGard - the same waterproofing you use to treat a shower.
The "Red" in the name is pretty literal once dry.
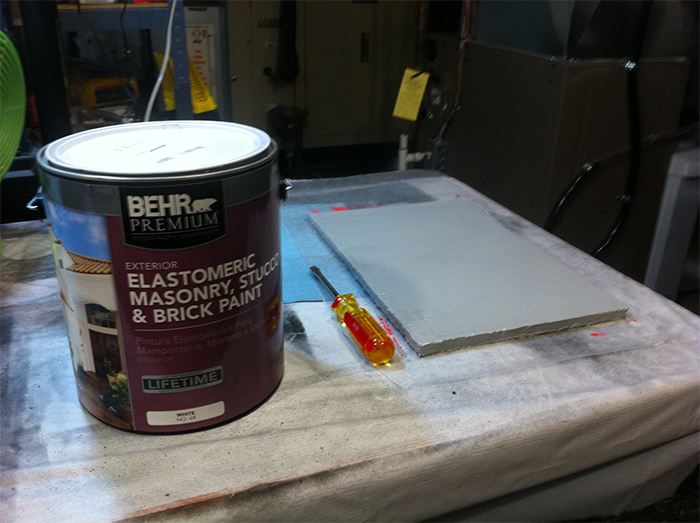
I next paint the base with gray elastomeric paint. This gives it a second layer of waterproofing and gives it a neutral color. In most cases, I extended the base out in front of the building far enough to emulate a sidewalk in front.
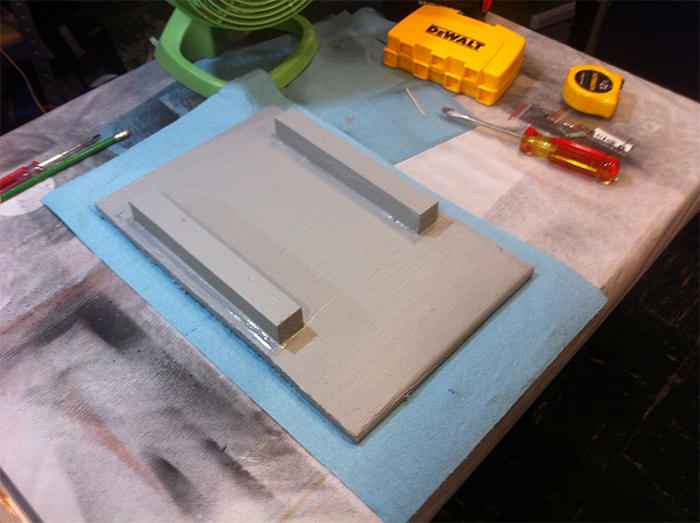
To attach the building, I screwed down pressure treated boards and painted them with the same elastomeric paint. I then drill a couple of small holes on each side of the building, and attach the building with screws. If the building is tall, I add extra weight to the base before attaching the building. But for most buildings, just the weight of the cement board is going to keep the building from going too far.
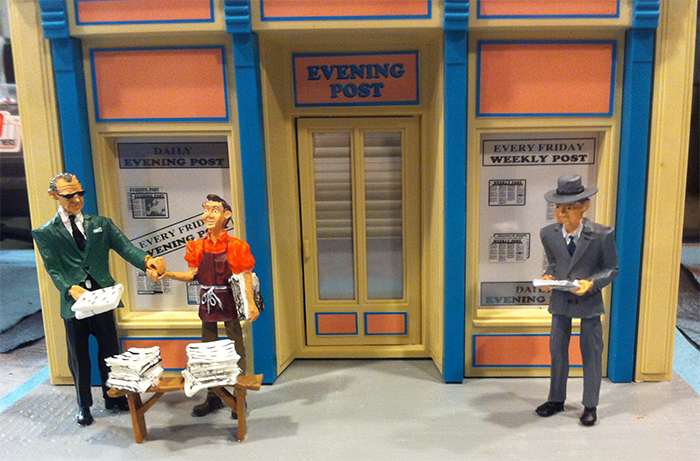
The windows are covered with either curtains/drapes, or window scenes that match the theme of the building. I've been finding lots of good window scene material on Google. I don't intend to have actual furnishings, etc., inside the buildings. From even a short distance, you wouldn't see most of it anyway. So I'm pasting pictures in the windows instead. I find the window scene, print it on a color printer, laminate it, and affix it to the inside of the window.
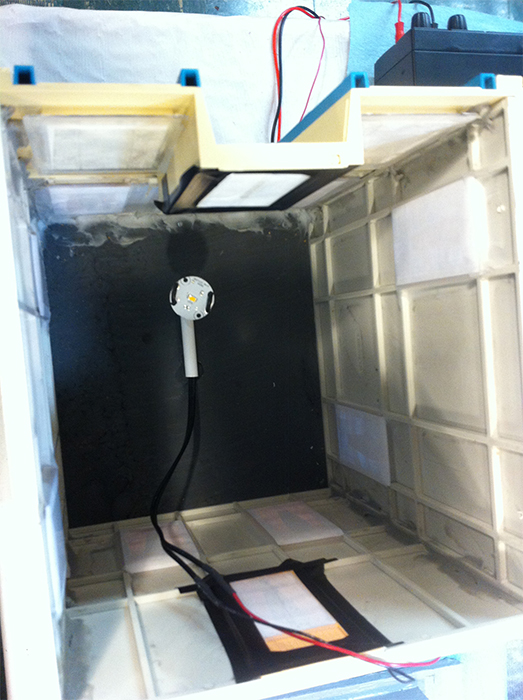
I am adding interior lighting to many of the buildings. The lighting will illuminate whatever picture I've pasted in the window for night viewing. In the example shown here, I tore apart a low voltage LED landscape light, glued the guts to the ceiling of the building, and brought the wires out through the bottom of the base. The wiring will be hidden when placed on the layout.
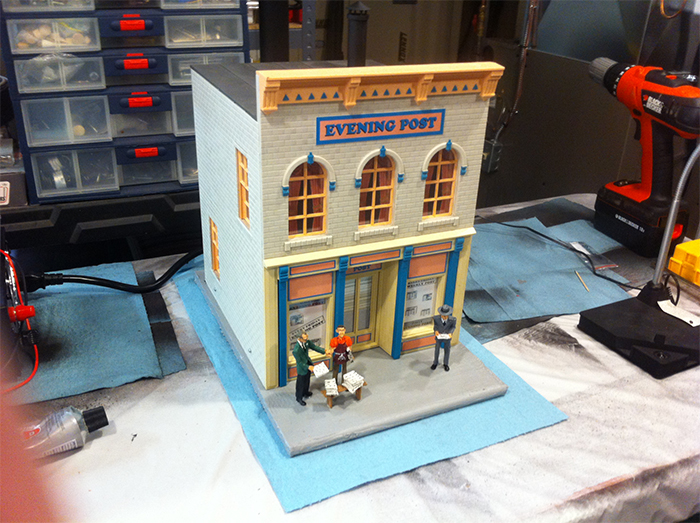
The last step is screw down the building, and glue some characters to the base.
I just happened to have some newspaper characters, so they seemed fitting to set outside the "Evening Post" building.
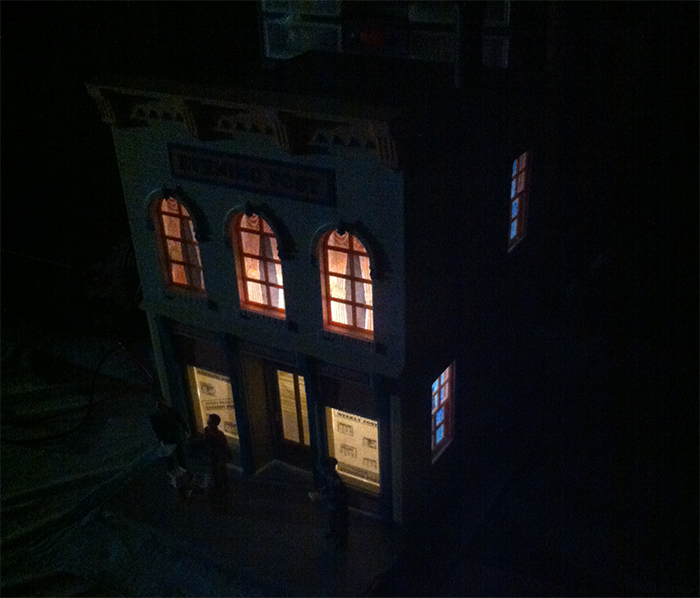
This is what it will look like at night.
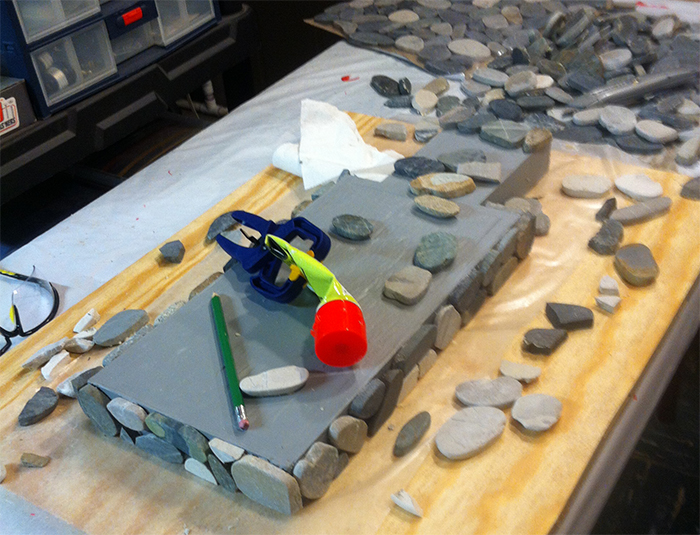
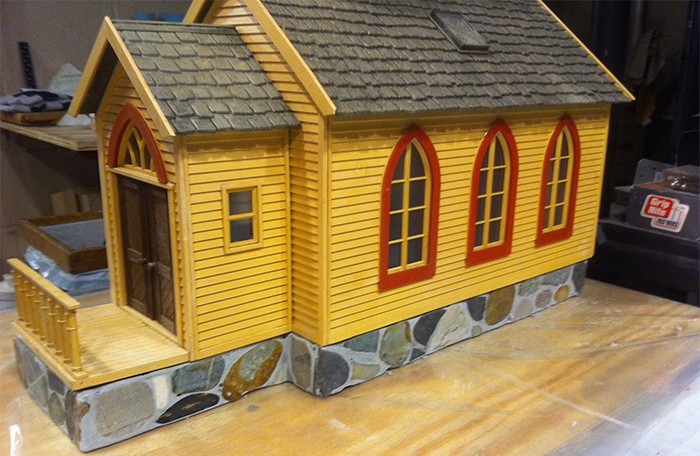
I wanted to give my church a foundation. I started by building a platform with pressure treated wood, and coated it the RedGard and gray paint. Then I proceeded to set the stones. The stones came from tile I purchased at a local home improvement store - tiles normally used for kitchen or bathroom floors or walls. The stones were fairly easy to tear off the fiberglass mesh backing. These stones were nice because they are all a consistent thickness, perfect for creating a facade.
I glued the stones in place, and then used tile mortar to fill in the gaps. After the mortar was dry, I used a damp cloth to wipe the stones clean. I then added a couple of coats of clear acrylic to waterproof the mortar.
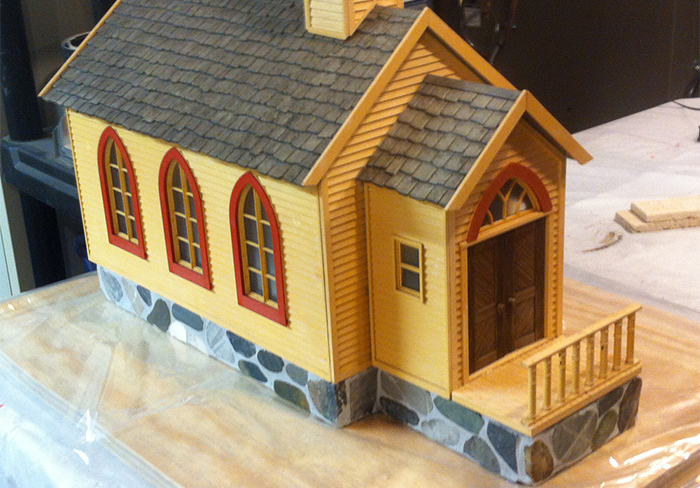
The finished foundation adds nice character to the church.
There was nice variety in the stones pulled from the tiles. Now I just need to add steps to the door, and a few little people dressed in their Sunday best. (Pictures of the finished church can be seen in the slide show on the main page.)
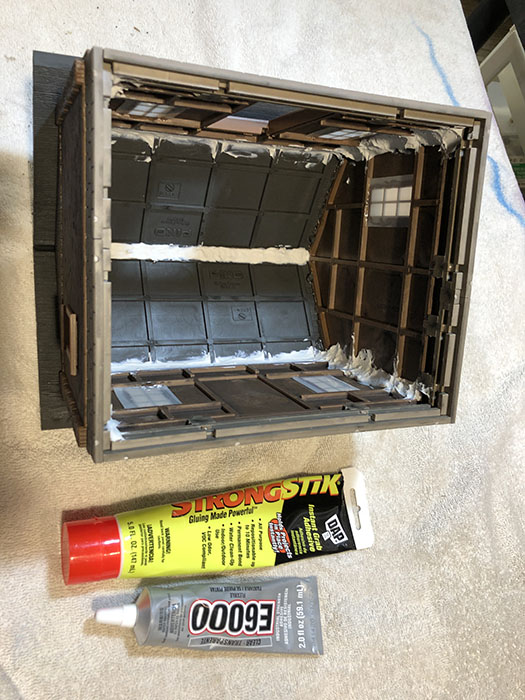
Plastic kit buildings are quite common and I have a few. I got a couple of those second-hand, already assembled and previously used on a layout somewhere else. The plastic holds up just fine, but the glue that comes with the kits does not pass the test of time. When the glue breaks down, the building falls apart.
If I need to re-glue a building, I use E6000 which is an industrial grade glue that not only sticks well to almost anything, it has a bit of flex so that the joints don't break under the pressure of outdoor weather.
Whether repairing an old one or assembling a new one, the other thing I do is reinforce the inside corners with StrongStik. I haven't had a reinforced kit building fall apart yet.