![]()
I see a lot of questions posted online about track bed construction. There are many ways to go about it, and many of them are quite good. This is my approach to track bed construction, outlined here only as a suggestion to those who might find it useful.
My track beds have now endured (as of 2019) two or three years of Minnesota climate (tracks beds put down in 2016 and 2017). If you're not from around here, I will point out that we are sometimes as cold as Anchorage in the winter and sometimes as hot and humid as Houston in the summer. If anything can stress an outdoor layout, Minnesota weather can.
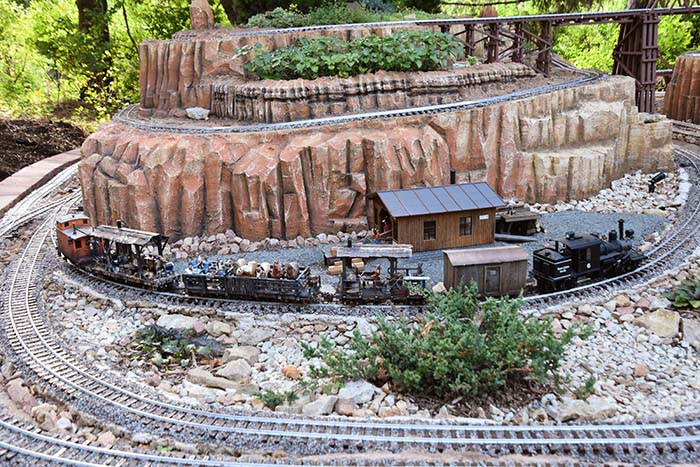
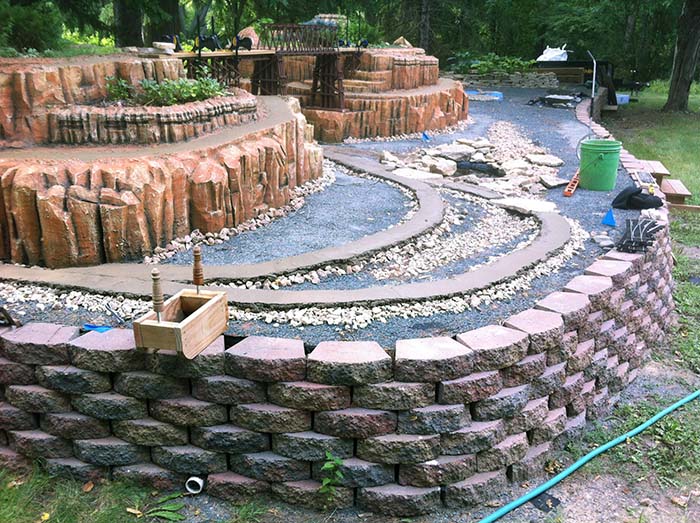
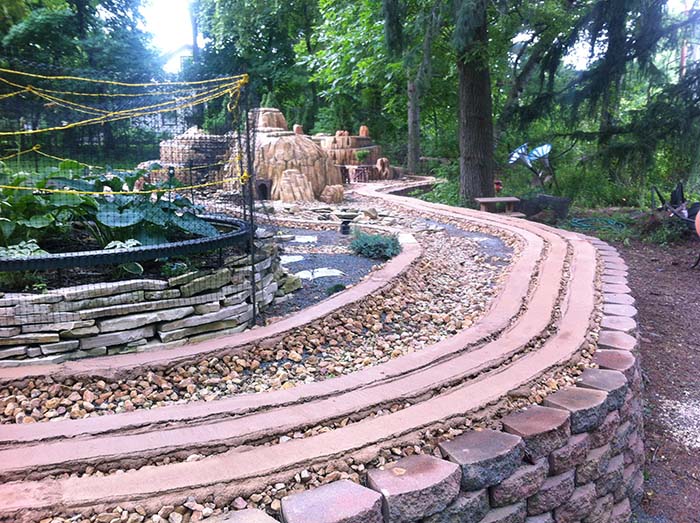
The entire layout is raised up off the ground by 2 feet using a base of packed clay/sand mix. A layer of landscape cloth covers that, then a layer of gray trap (crushed basalt). The "ground level" track beds are then a layer of landscape rock with a ribbon of 1-inch thick "concrete" poured over that. The idea behind the rock under the concrete is to allow drainage.
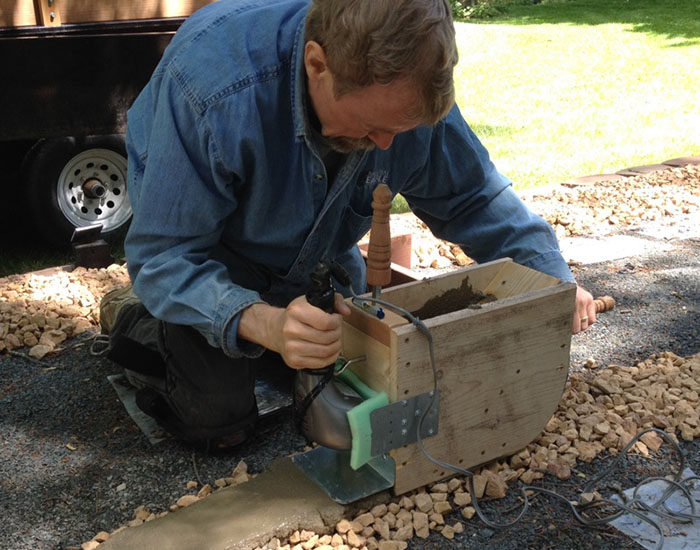
I created a jig for applying the mortar. It was suggested that I add a vibrator of some sort, so I hacked up an old back massager. It vibrated the jig nicely, but the mortar still required mechanical mixing in the form of a push paddle I devised a short time after this test.
"Concrete mix"
• Type S mortar - found at home improvement stores (e.g. Home Depot, Lowes, etc)
• Gray trap (bluish-gray basalt) - found at landscape supply stores that sell rock, gravel, dirt, etc
• Acrylic bonding additive - found where concrete mix is sold (e.g. home improvement stores)
• Iron oxide pigments for coloring, mix of yellow oxide and red oxide - found on eBay, normally sold for use in ceramics but is the same pigment used in premixed concrete coloring additive
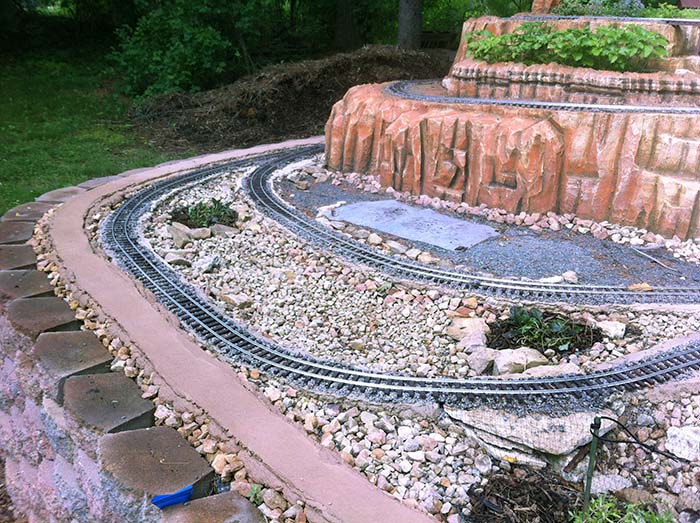
I used crushed granite for ballast since it was the most realistic thing I could find readily available. There are two things that will make fine ballast disappear quickly: A leaf blower, and heavy rain. I was starting to experiment with clear acrylic when a fellow modeler turned me on to Mulch-Lock. It is made for keeping mulch in place, but works pretty well on ballast, too. It is a form of acrylic that is easily sprayed on using the pump sprayer the product comes in. You can buy it on Amazon or at some home improvement stores. The ballast doesn't go anywhere when hit with rain or the leaf blower after locked down with Mulch-Lock.