Underground Storage
A major objective in the 2020-2022 layout expansion was figuring out how to store the trains somewhere closer to the layout than the garage at the opposite end of the property. Many modelers will build a utility shed and drive the trains right into that shed. We have a technicality preventing that at our house. With the house set far back on the lot, the model railroad layout is actually in the front yard. City code doesn't allow a utility shed in the front yard. I needed to get creative.
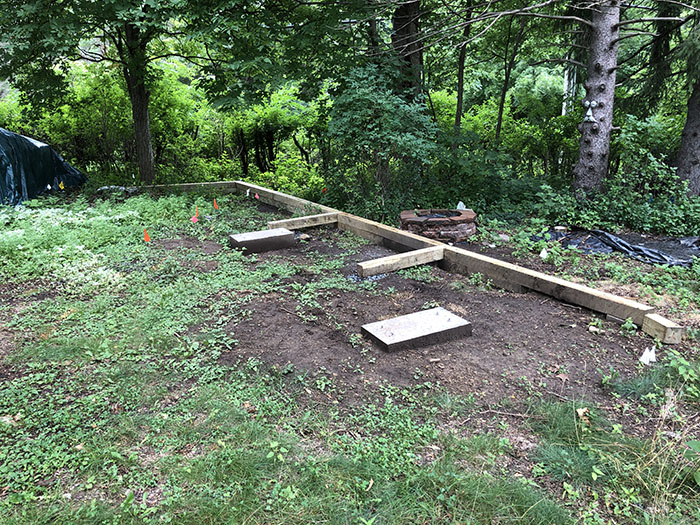
My solution was to take advantage of the slight downhill slope at the north end of the layout area, and build an underground storage structure there. Here are the concrete bases that form the foundation for the new storage structure.
There is a small retaining wall that will hold a class 5 base for a walkway along the structure.
Here is the finished and leveled area for building the storage structure.
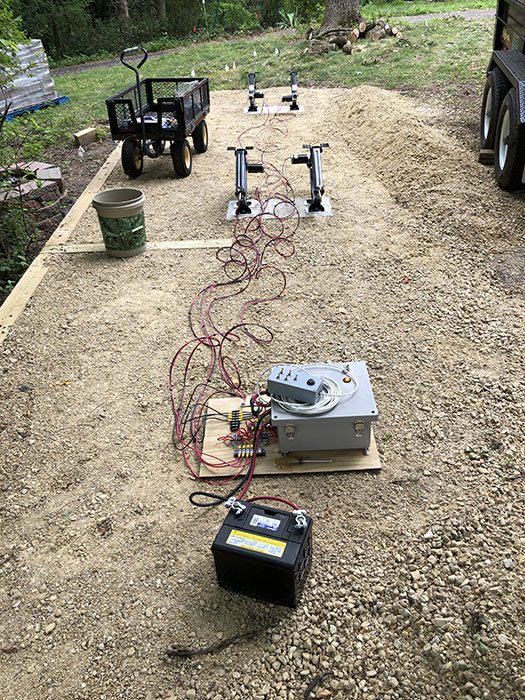
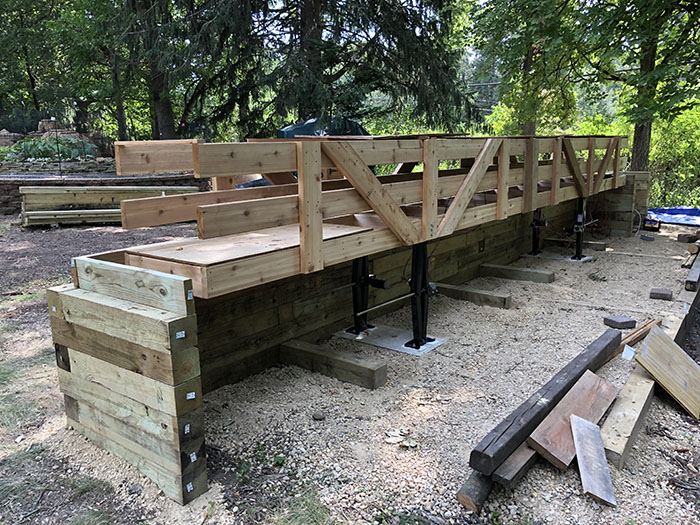
The storage framework will sit atop a set of motorized RV leveling jacks driven by a standard car battery. These jacks are solid enough to lift an RV off the ground, so should be more than enough to lift a few model trains. The control box allows for reversing all the motors for up and down. The controls also allow for individual control of each corner for fine tuning the leveling.
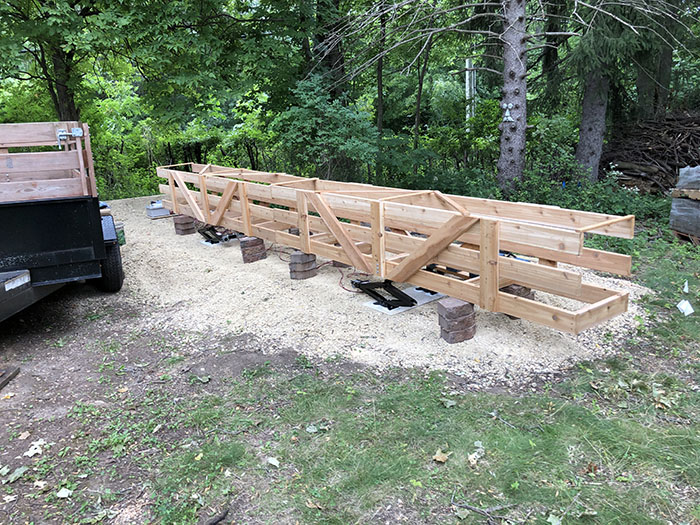
The framework was initially set up on blocks while attaching the lift jacks.
Initial lift testing worked as planned.
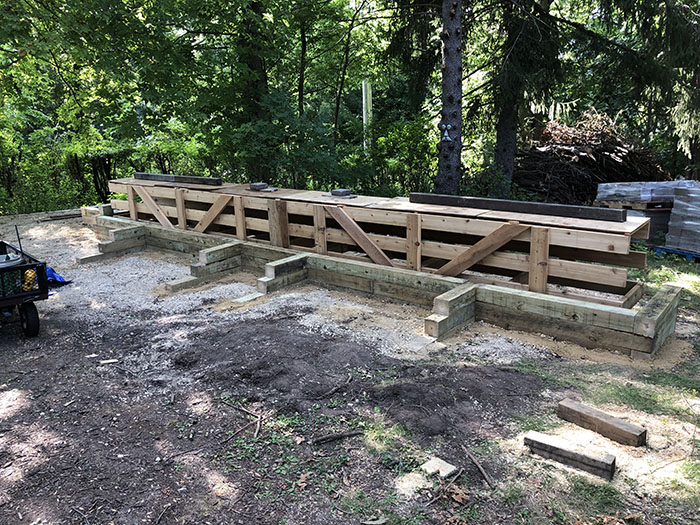
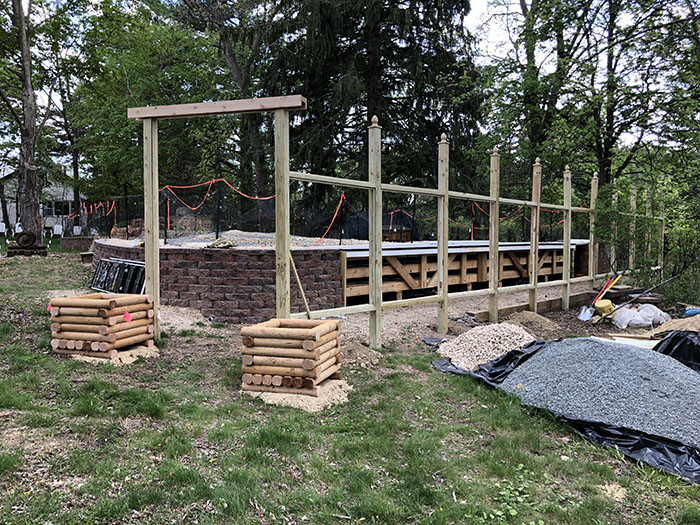
Next step is to build the retaining wall between the storage structure and the rest of the layout. The wall is anchored by 1/2" rebar pinning the timbers into the ground below. The ground here is more rock (limestone) than dirt, so quite solid.
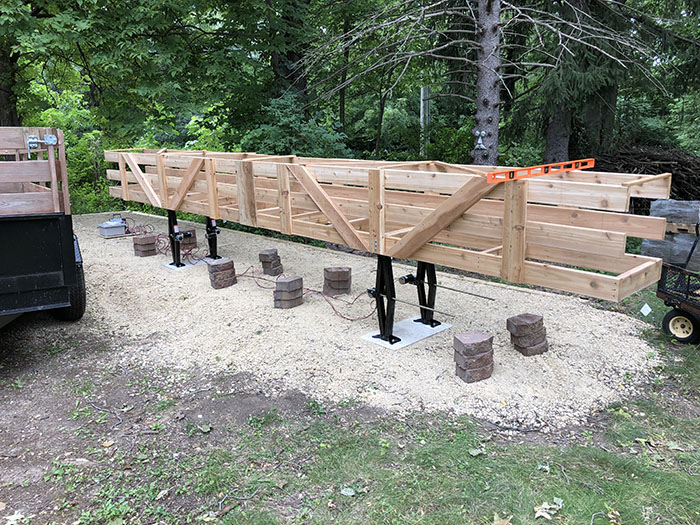
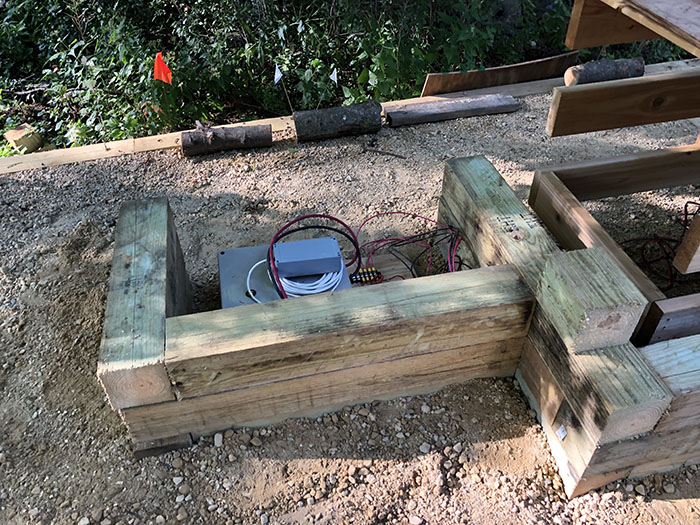
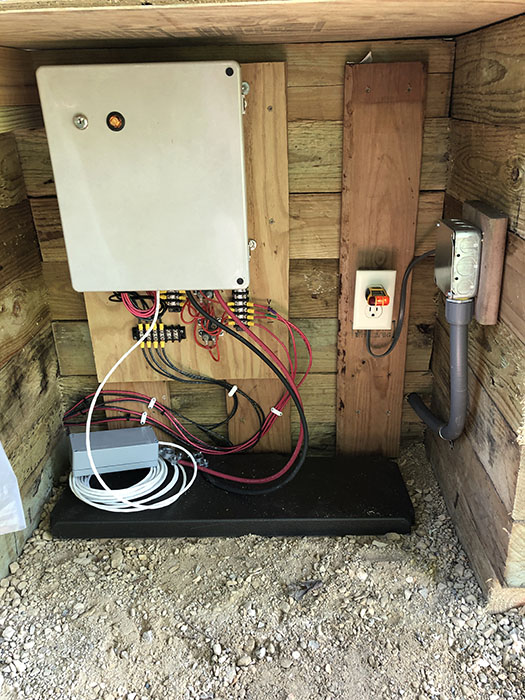
The controls will have their own little compartment.
When fully extended, the jacks lift the entire structure up to the level of the layout, which has yet to take shape in this photo.
The control box is now installed. The jacks run on 12 volts DC using a car battery. The battery will have a trickle charger on it which is plugged into 110V AC.
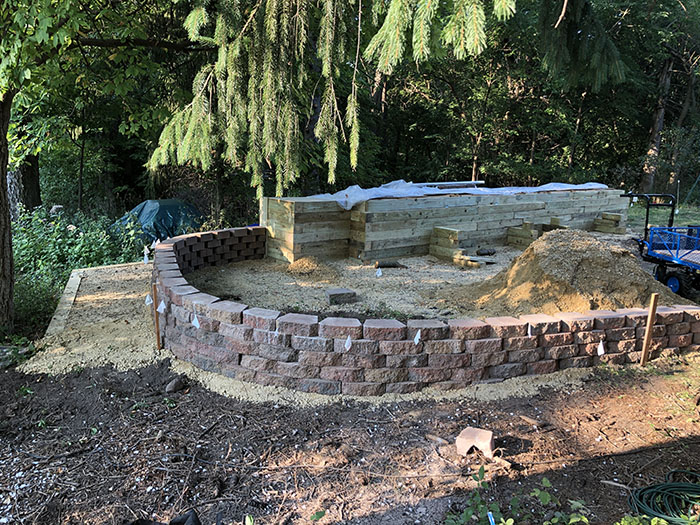
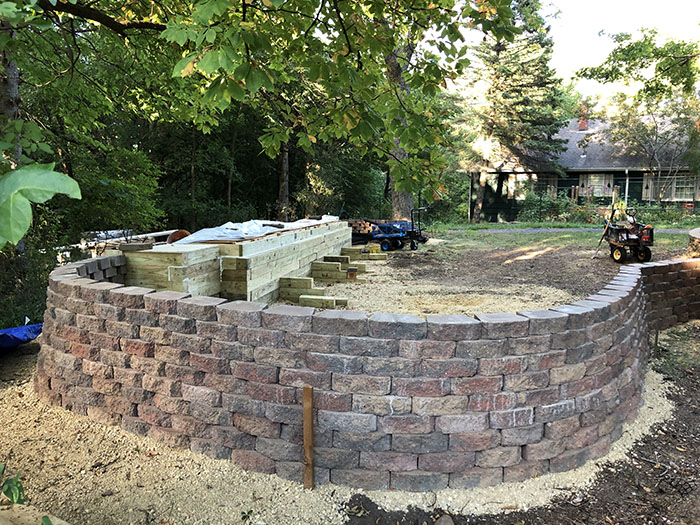
Now that the storage structure and timber retaining wall around it are complete, it is time to add the rest of the stone retaining wall around the rest of the layout expansion.
Retaining wall is finished on this end.
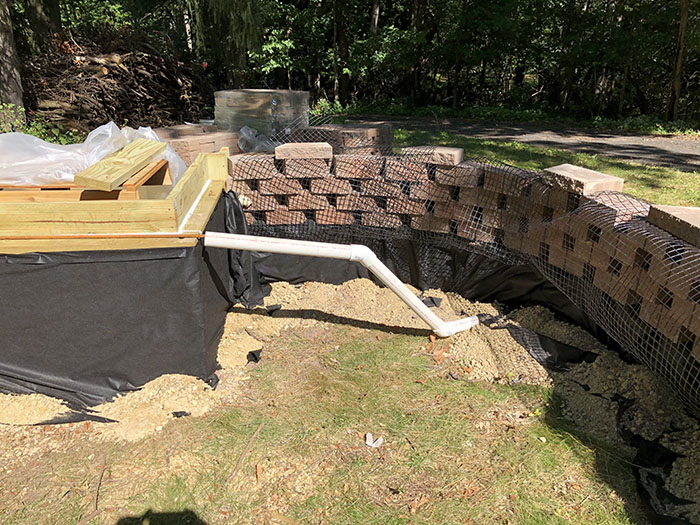
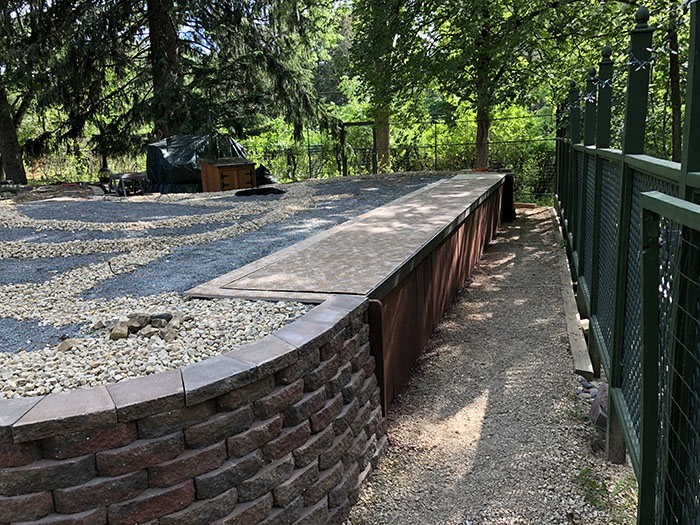
Drainage is always an important part of the layout plan. This drain pipe will get buried, but will take runoff from the gutter along side the storage platform and route it to the outside of the layout (through the stone wall).
Standard house rain gutter will be added to this trough formed around the perimeter of the top of the storage platform.
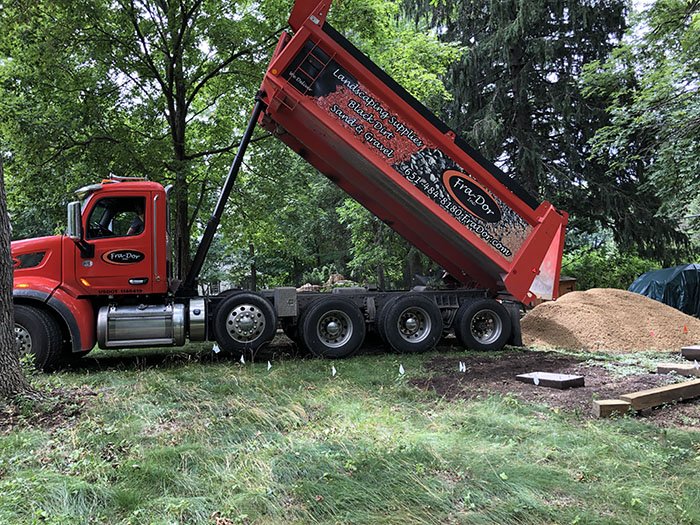
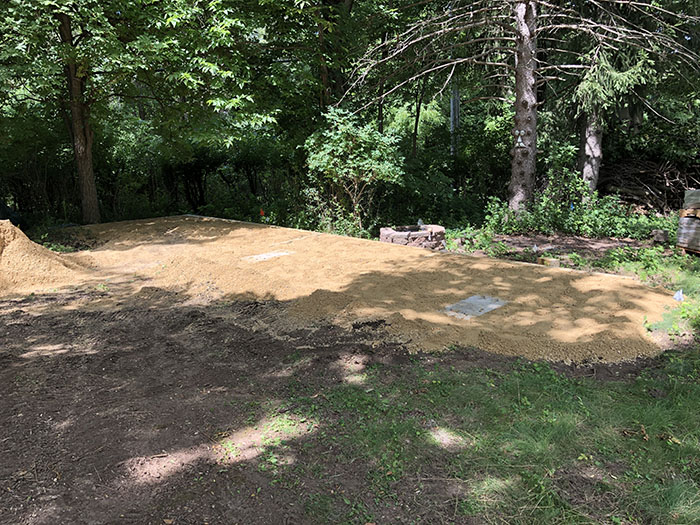
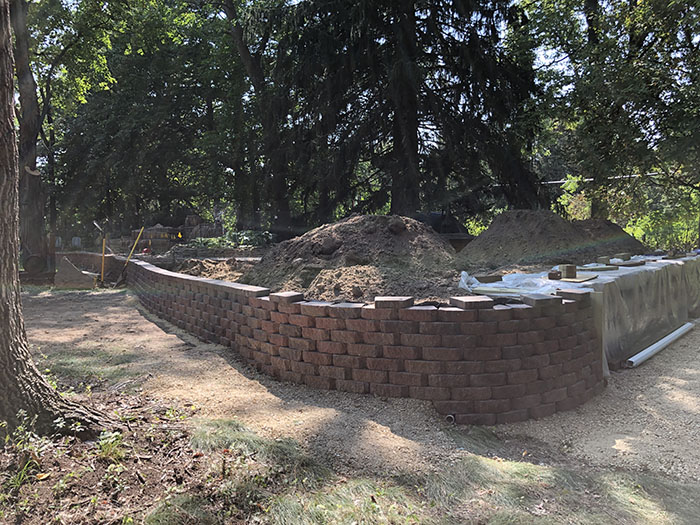
Now call in the dump trucks to fill the layout. It took a total of 5 of these guys to fill up this expansion area.
Once the fill was hauled in, the front side stone wall was completed.
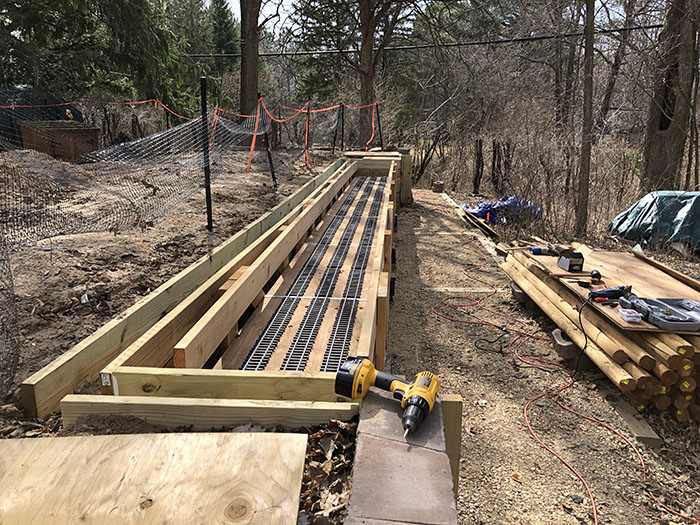
Track is screwed into place in the storage structure as the floor is added to each of two levels. Two levels with three tracks each will hold six trains in storage when not in use. The trains are limited to 24 feet in length, but I can live with that.
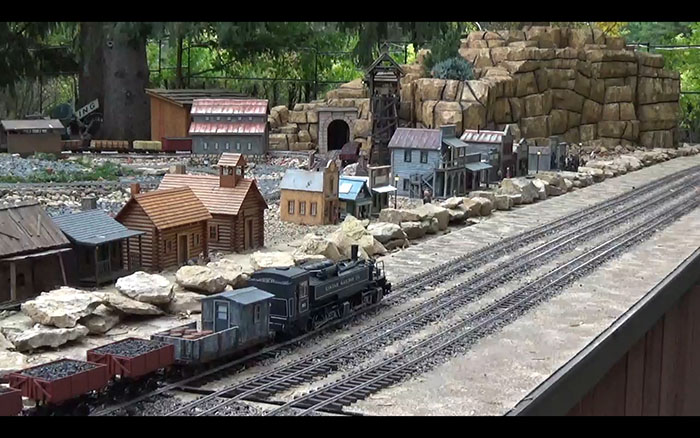
Part of the expansion project included building a deer cage around the layout.
The top level of the storage structure was covered with roll roofing (asphalt) and then painted with elastomeric paint for color and texture. The front of the storage area was covered with cedar fence board.
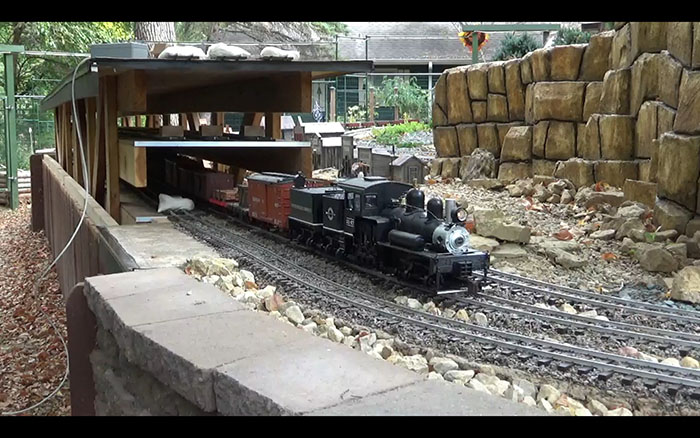
The last step was installing track on top of the storage structure. When in the lowered position, the storage area simply becomes part of the three loops that pass over the area. The 1100 feet of track covering the entire layout are connected with a set of 26 switches that allow all trains to get to and from the storage area.
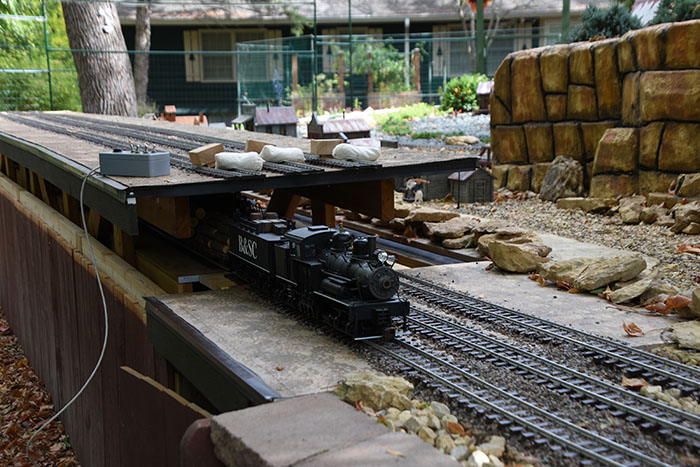
Temporary bridge pieces are put in place to allow trains to drive out of storage.
Trains are driven out of both levels, then the structure is lowered completely out of sight and the top of the structure once again becomes just part of the layout.
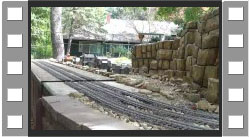
Click the movie icon below to see a short video clip of the storage lift in action.