Finishing the Mountains

All of the experimenting with coatings and mortars almost reminded me of my sixth grade chemistry set. I tested some of the coatings officially made for protecting EPS sculptures. I also tried out about every material I could find at the home improvement store. I was looking for durable mortar or cement type material to make the track beds on the foam. I was looking for a thinner coating material that would put a hard shell on the more vertical rock surfaces. I was also looking for ways to color the mix. I made a lot of test samples of a lot of materials.
Although I would like the foam to be as hard as a rock, ultimately it ends up being like an egg. If you hit it hard enough, the shell is going to crack. The only way to make it unbreakable is make it out of nearly solid cement, or at least cement so thick you didn't need to bother with foam inside to begin with. So the idea was to protect the foam but accept the fact that I may have to make repairs, especially if a tree branch falls on it.
I found that polymer modified large tile mortar makes a nice crust, adheres well to the foam, and can be mixed to a brushable slurry consistency. This type of mortar is made for holding heavy tile and natural stone to a wall, so its ability to adhere is good. It is also meant to be applied up to 3/4 inch thick as mortar, so it holds form well. I coated a few test pieces and liked the resulting texture.
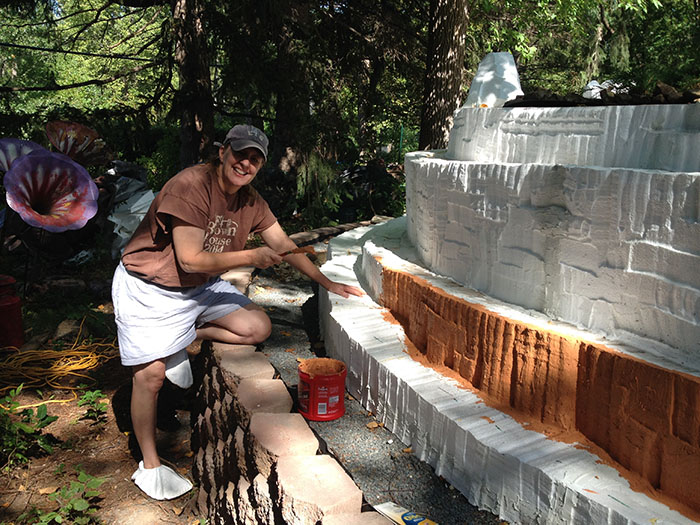
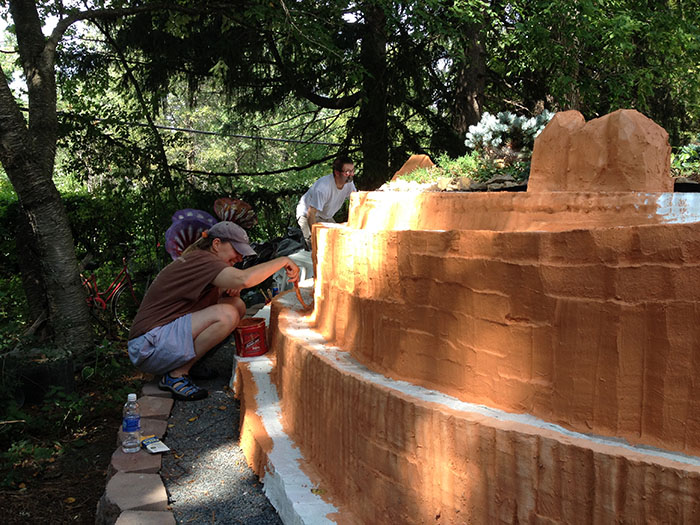
Our former neighbors and good friends Claudia and Greg were eager to be part of the mountain finishing event. We used iron oxide pigments to color the mortar mix used as the hard crust base coat.
This was the one paint job where I told everybody this is the one time you want to be as sloppy as possible. The more brush strokes you leave showing, the better. Blobs and splatters, no problem.
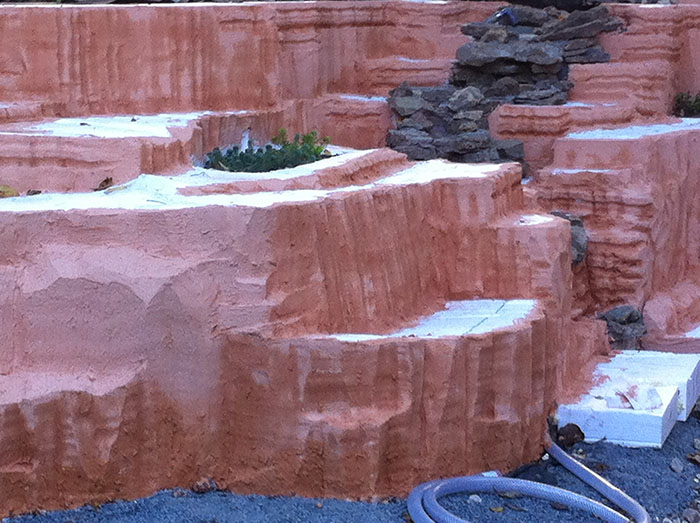
The only thing not coated with the mortar mix was the horizontal surfaces that would later be covered with a cement mix.
The mortar based coating still needed sealing. When dry, it would still absorb water, and I didn't think this would wear well. I experimented initially with various brands of weather proofing, but none of them were made to be essentially thin grout, and they didn't work well. I ultimately decided that plain old acrylic exterior house paint would be best. I added paint texturizing sand to the paint to give it some rocky grit.
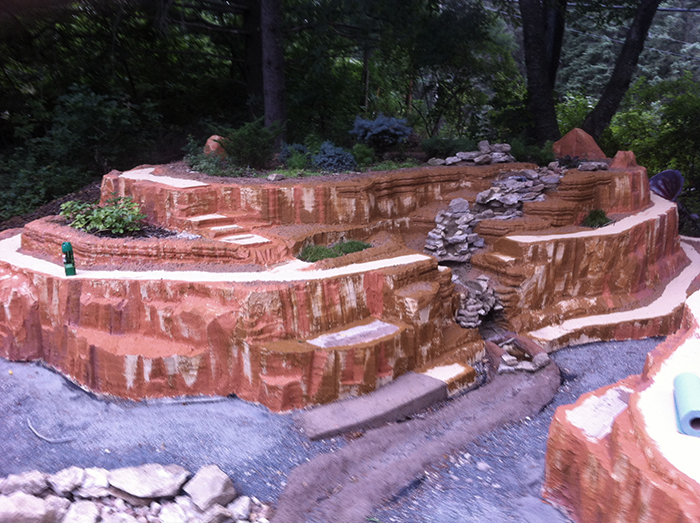
After allowing a day for the base mortar coating to dry (and another day for rain to pass), we hit it with the house paint.
The mountain finish will stay this way until Spring 2016, at which time I will use multiple accent colors to highlight the mountains and give it more visual texture than the one solid color has now.
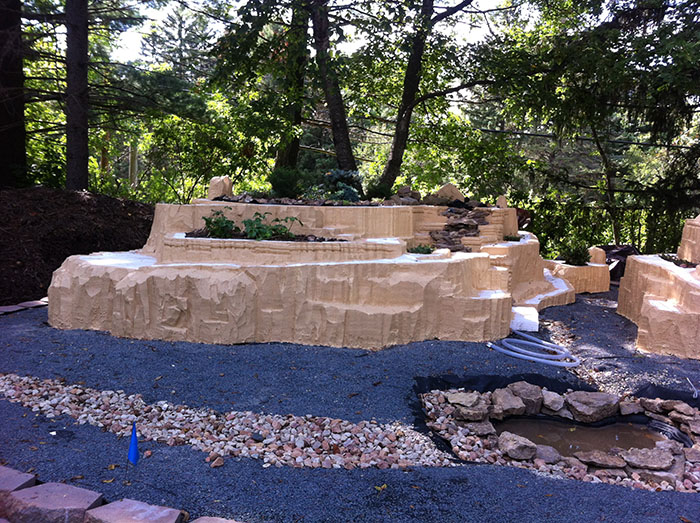
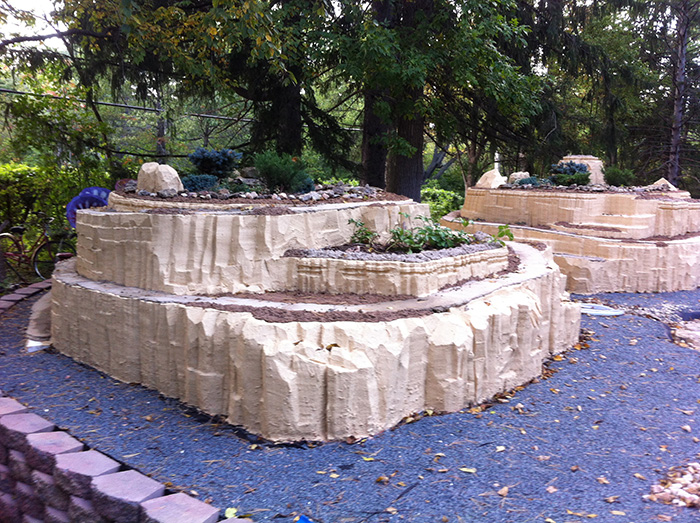
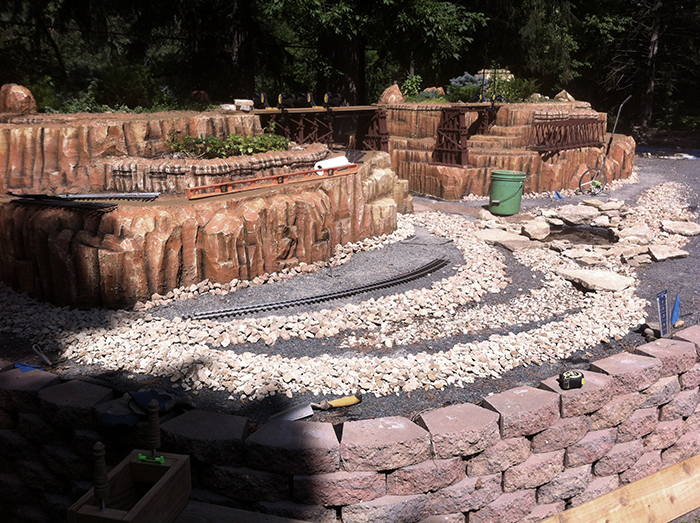
At this point, the track bed has been mortared with colored masons mortar. The other non-track horizontal surfaces have been covered with a rougher cement mix that included fine textured gravel.
The only uncoated foam showing in this shot is waiting to become footing for the bridges over the stream. The waterfall is in place and waiting for final finish and touchup.
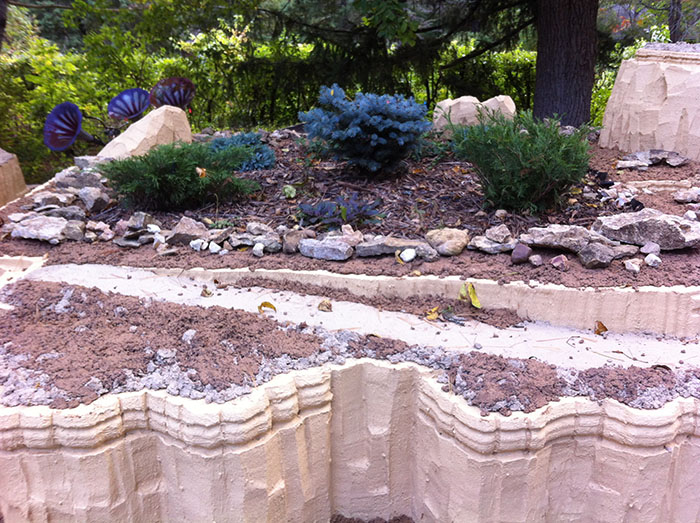
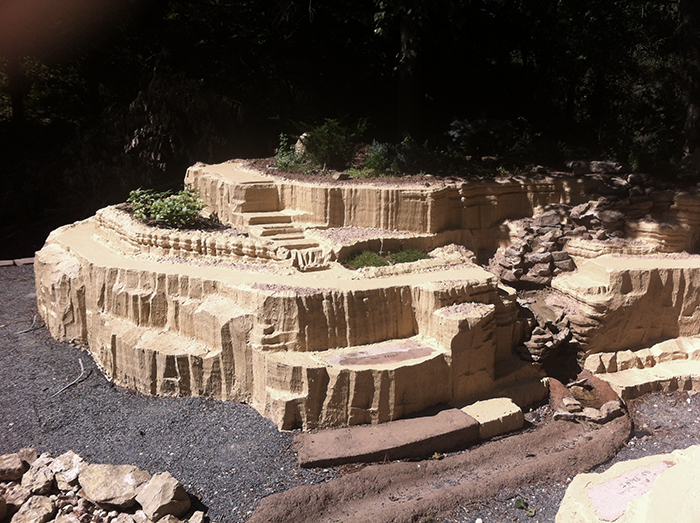
Same story here, the uncoated foam is waiting for final cutting and coating in the process of putting in another bridge.
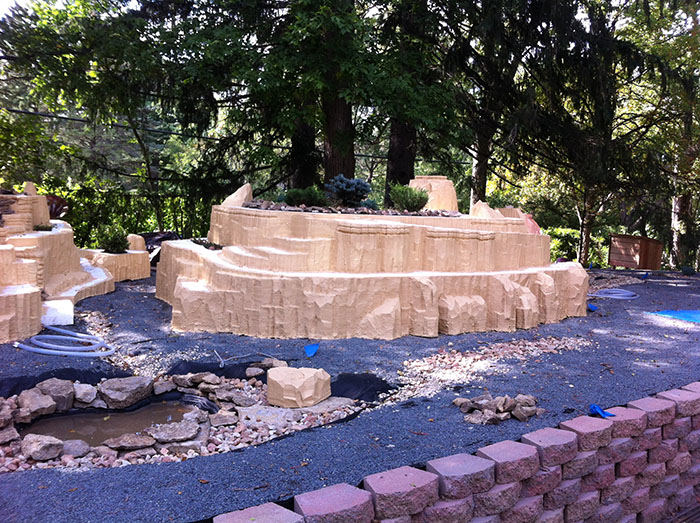
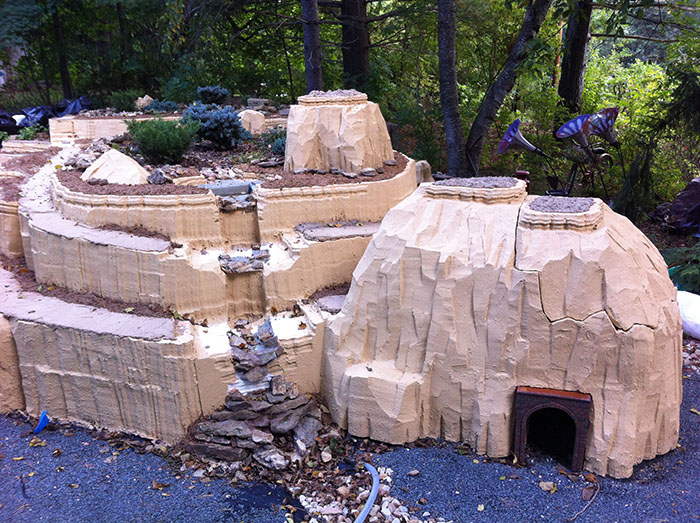
Here's the almost completely finished south mountain.
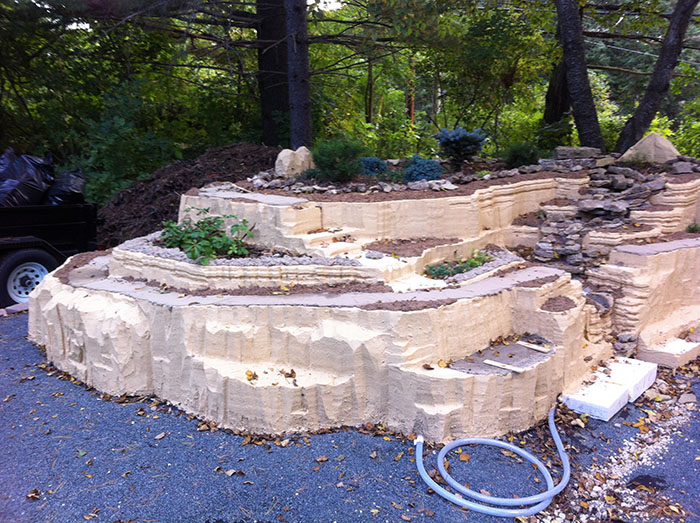
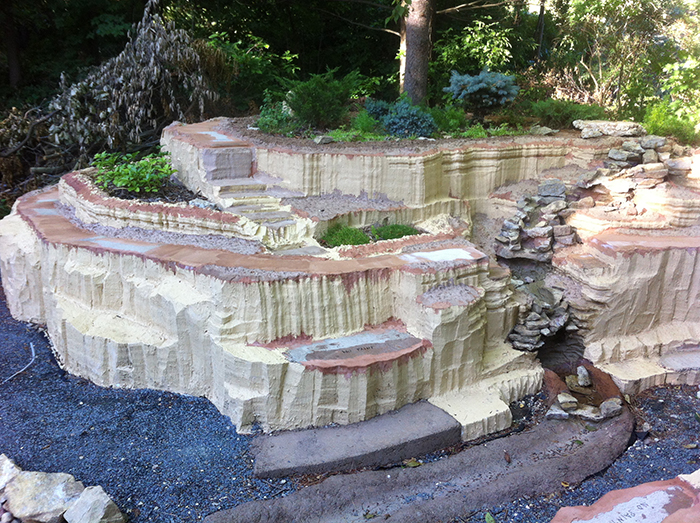
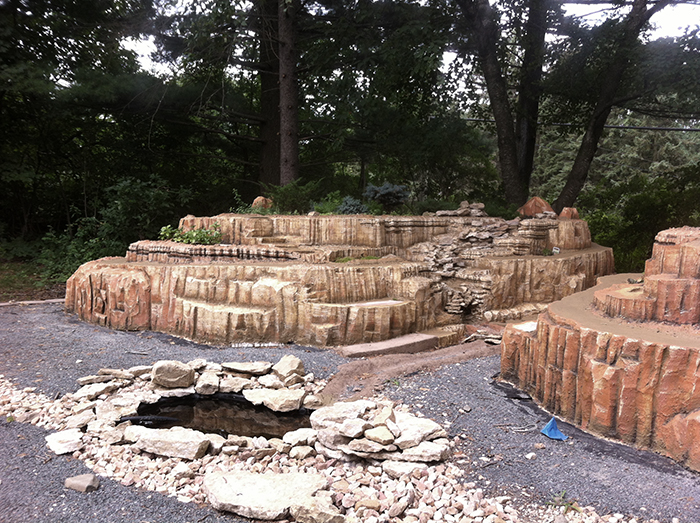
And here's the almost completely finished north mountain.
Update - August 2016
So this is where work left off in 2015. At the time, I said it was "almost completely finished". I should have said finishing had barely started!
The track bed mortar needed sealing around the edges to keep water from getting under the mortar. As I began to work with sealing the edges, I found that it really looked much more finished if I sculpted the finish mortar to match the countours of the mountain. Think of it as an elaborate spackling job.
Once the edges had been mortared, it needed sealing, and acrylic paint is the best sealer. I found through testing that "weatherproofing" sold at home improvement stores is not waterproof. Only acrylic paint is waterproof.
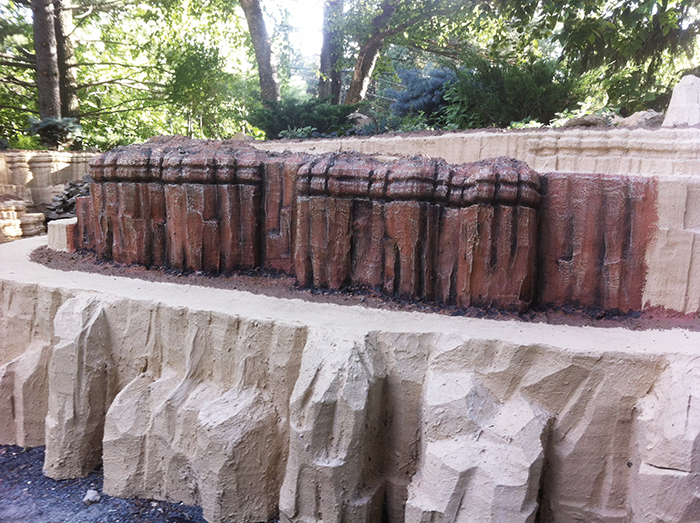
Now it was finally ready for the "finish" coat. To make the mountains look more natural, I planned on adding up to seven colors using artistic painting techniques. To make sure I was on the right track, I applied all seven layers to a small test area. Being satisfied with the result, I proceeded to do the rest of both mountains.
The various colors were applied in sequence to the entire mountain. The final appearance had to only be imagined at this point.
Here I am hard at work (well, play to me). I think this was color number 4.
This is what the south mountain looked like after all 8 applications of paint layers.
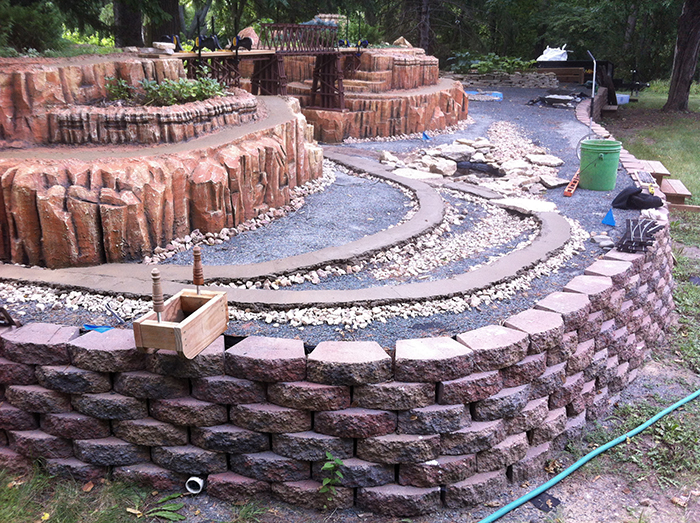
Most of the track for the logging train is on the mountains. But there is a small portion of it on ground level. Here the rock base for that part of the track is being put down.
The same special mix of mortar used for track beds on the mountains is used on top of the rock base. It forms a very solid and stable track bed.
After two days of laying 240 feet of track, and adding granite ballast, the logging train ran for the first time. This much track could not have been laid down in 2 days without the help of my good friend Greg!
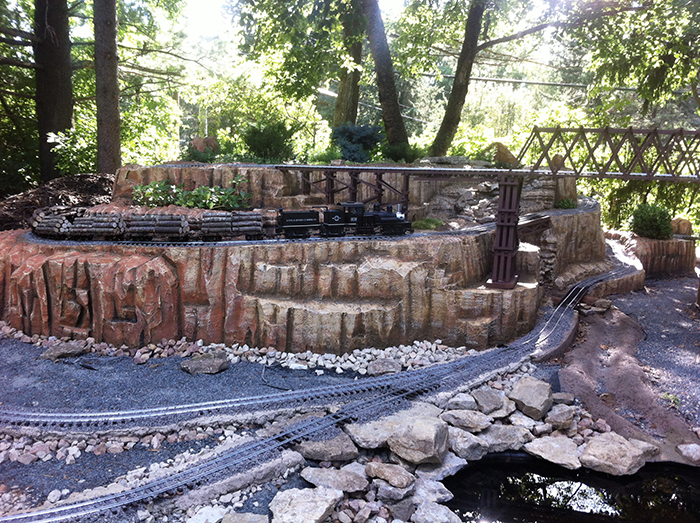
This is the logging train working its way up the south mountain.
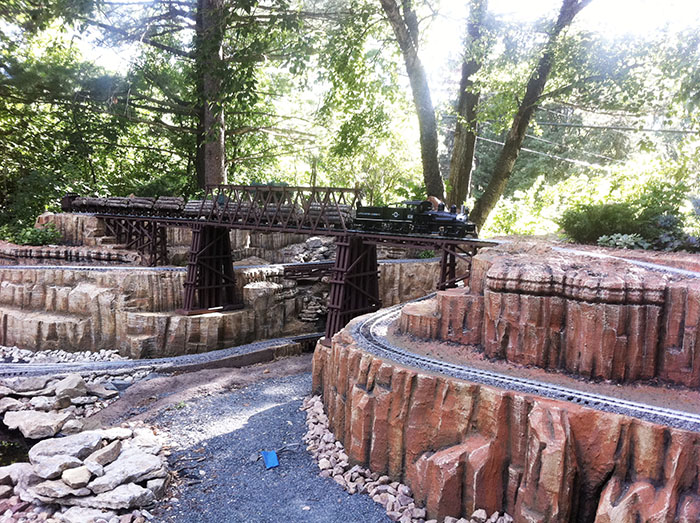
This is the logging train crossing the long bridge over the canyon.
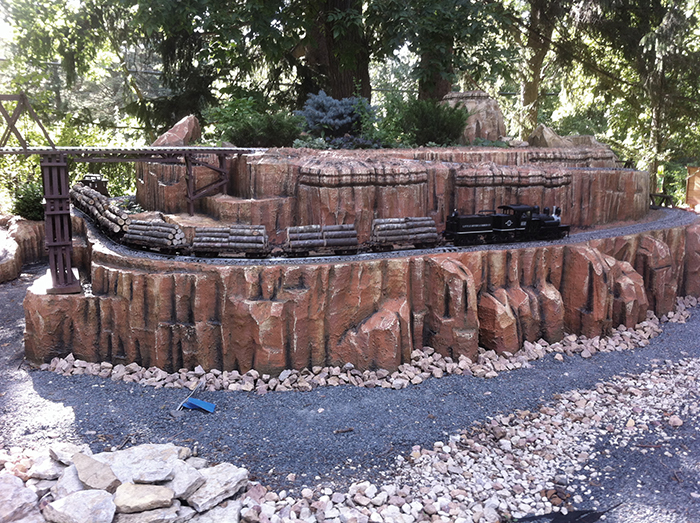
Here is the logging train working its way down the north mountain.
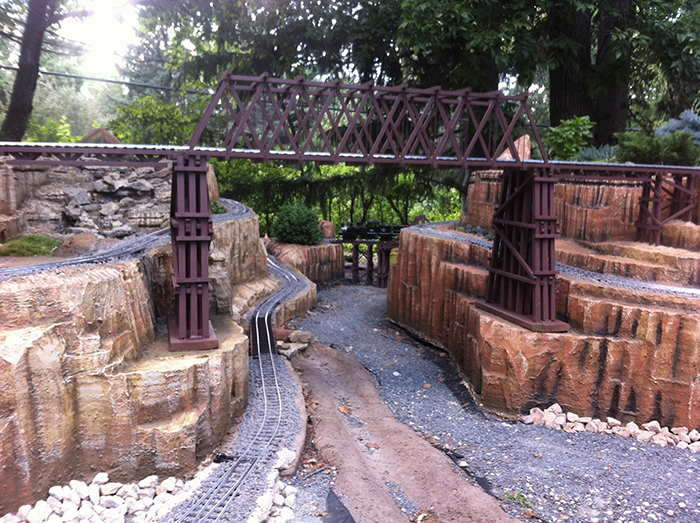
And finally, here is the logging train crossing the canyon on the far side at a lower elevation.
The train makes 2 complete loops around the south mountain going up, 2 complete loops around the north mountian going down, plus another half a loop around the south mountian to finish the trip down.