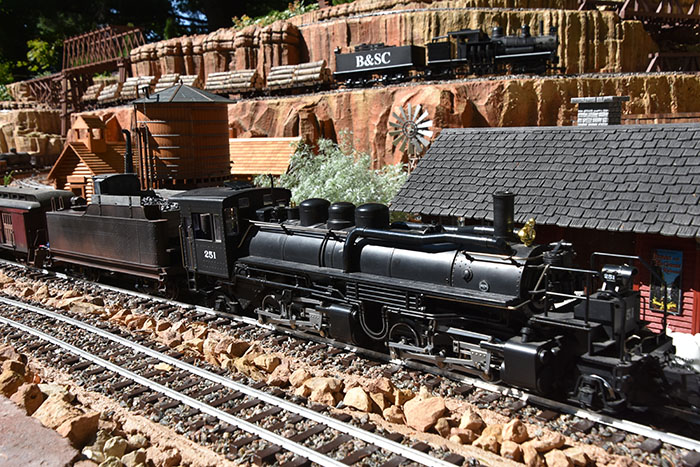
Sumpter Valley 2-6-6-2 Articulated Mallet
The Sumpter Valley Mallet normally comes with a tender. I don't know what happened to this guy's tender, it was missing. Originally listing for $2,400 new (now out of production and no longer available), I got this one, lightly used, for a LOT less than that on eBay. I can figure out how to build a tender for less than about two grand.
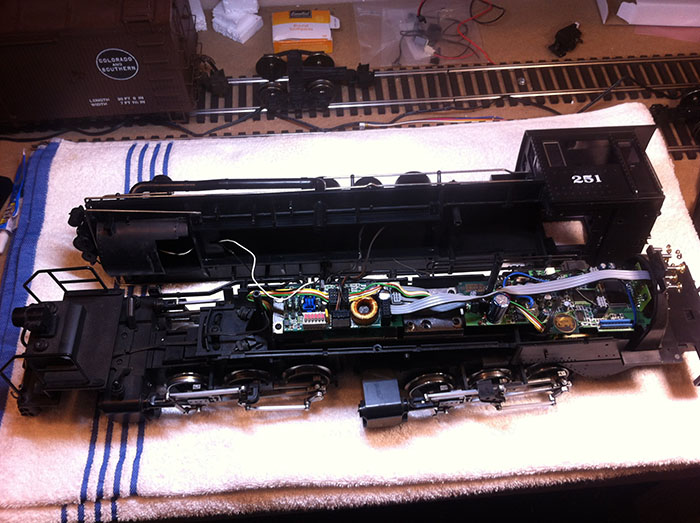
I found somebody else's blog posting about taking this thing apart. Either it was their first experience retrofitting a locomotive, or this thing really is a bear. I'd been through some ugly stuff already, so I didn't know if this would really be worse. I took a lot of closeup pictures of screws and linkages as record of where to put things back and proceeded to disassemble it. It was a bear. This loco already had a good sound board, so all I really needed to do was replace track power with battery power. I decided to use the power input on the back of the cab that normally receives power from the tender wheels to receive battery power instead. Thus all I really needed to do was disconnect the wires that picked up track power from the loco's wheels.
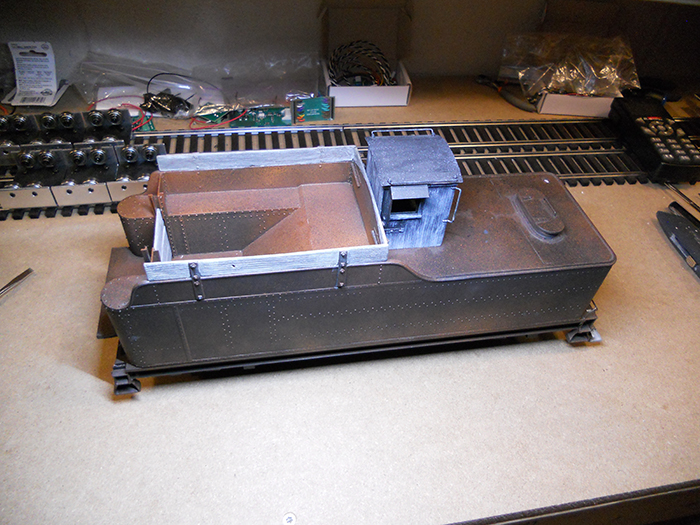
I had initially started down the path of kit bashing another tender that I had gotten in bits and pieces off eBay. But then I found this tender and liked it because it was big enough to easily hold the battery, and because I liked the looks of this one.
This tender had originally been used as the sound car on somebody else's layout. I left the speaker in place, but removed the electronics. In taking it apart, I could also tell this had been scratch built. They did a nice job converting a generic flat car into a tender.
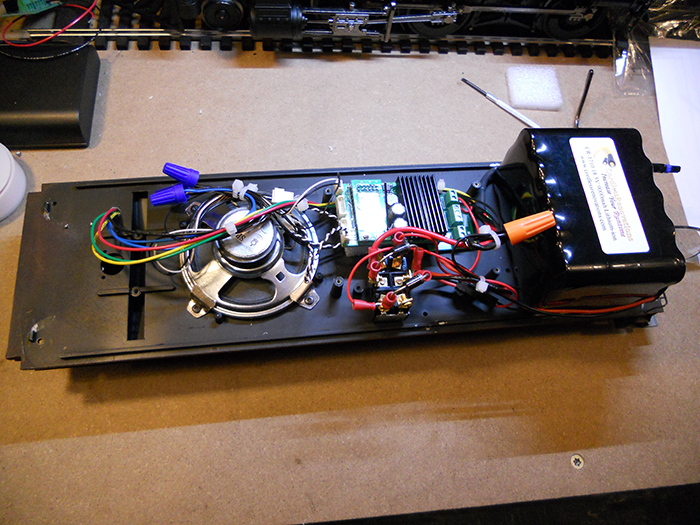
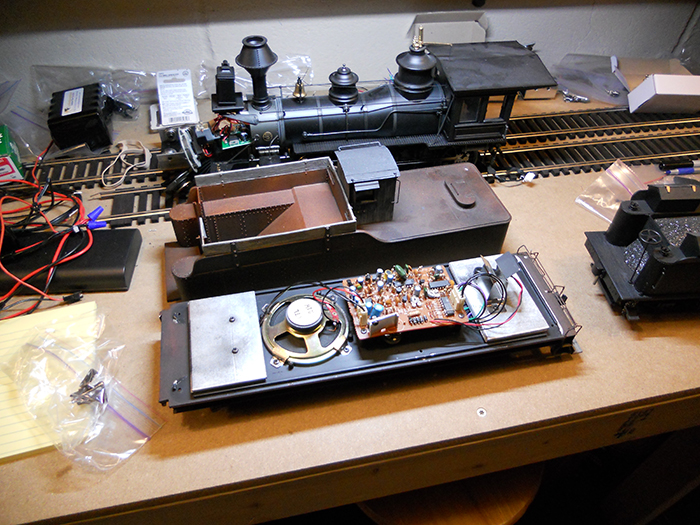
This is a big tender, so there's lots of room to spread things out nicely, and include a 9000mAhr battery pack. This is probably the cleanest of all the retrofits. The switch, accessible from underneath, selects off/recharge, run on internal battery, or run on external battery. Just like on the Shay, the 'external' setting means feed power from a trailing car through to the locomotive. Although I anticipate several hours of run time from the tender's battery, if I need more time, I can drop in a boxcar holding another battery, hook it up, and keep rolling. The internal setting means run on the battery in the tender. The off position disconnects the battery from the locomotive. In the off position, I can also connect the 'smart' battery charger to recharge the battery without opening the tender up.
Before wrapping this one up, I added about a pound of weights toward the front of the tender, just in front of the speaker, to balance out the weight - the battery is heavy. I had learned from another battery car that an unbalanced heavy car handles badly. A badly balanced heavy car likes to try to pop wheelies when all the weight is in the back.
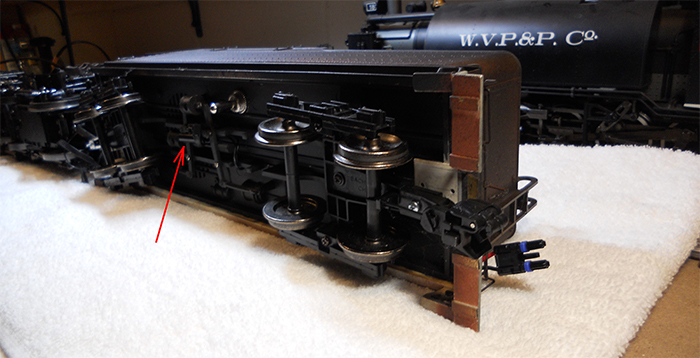
It's hard to see in this picture, but the red arrow is pointing to the magnetic whistle sensor. The plug sticking out the back is for the battery charger, or for connecting an extra battery car following the tender. While working on this one, I discovered a couple of contacts on one of the axles of the loco that didn't make any sense to me at first. But I eventually figured out that they were a mechanical chuff sensor. Very simple, metal bars across the axle would make contact with two wipers twice per revolution of the axle. I connected these to the controller's chuff sensor input. It skips a beat once in a while, but for the most part, works ok. However, since the Sumpter Valley mallet already had its own sound, I ended up disconnecting the speaker in this tender and letting the loco provide the sound. The only thing used in the tender now is the wireless controller and battery for controlling speed and direction. The rest is handled by the electronics in the tender.
The one final touch was adding a coal load. Most tenders have a somewhat fake looking plastic load. This is real Pennsylvania coal, crushed to a size that is good scale for G scale models. It is sold in small 1/2 gallon or so containers just for model railroaders. Then I poured clear flat acrylic over it to make it stay there. I guess you could say it is still at least plastic coated, but you wouldn't know it by just looking at it.