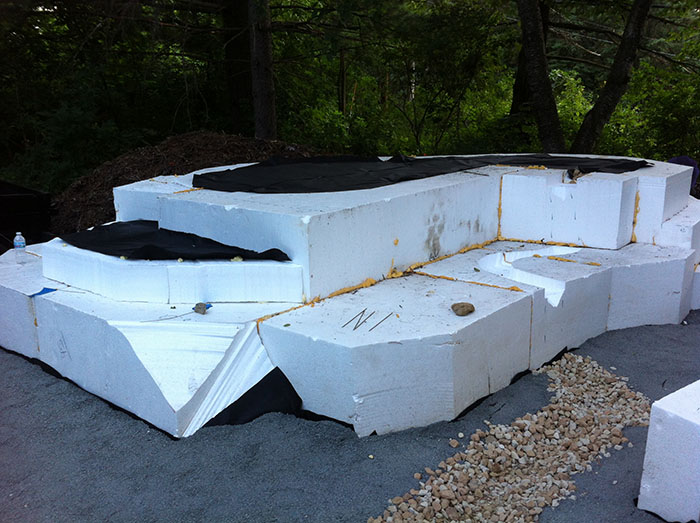
More Layout Detail
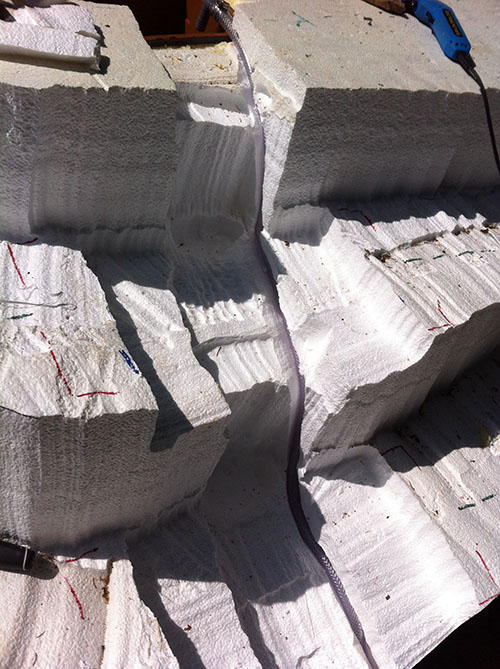
My layout plains included waterfalls, one on each mountain, with the streams originating on the tops of the mountains. Here you can see the first bit of cutting to carve out the stream and its waterfalls on the south mountain.
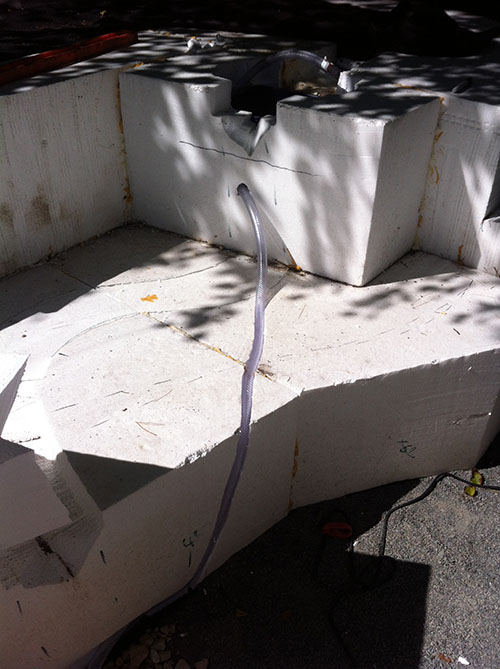
What goes down must come up. Wait, is that how it works? Well it needs to for a garden water feature. So here I'm buring the water hose in the foam, having cut a trench with the hot wire cutter. I used fiber reinforced tube - I don't want this stuff breaking on me once buried in the mountain.
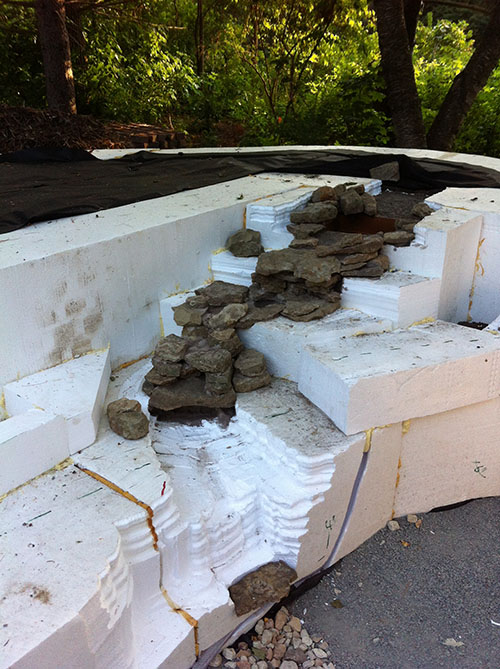
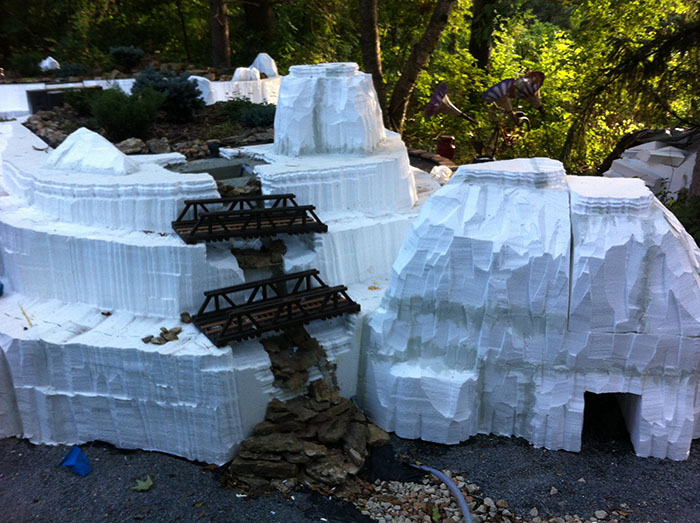
I used natural rock and brown colored mortar to build the waterfalls. Mixing some amount of natural rock into the largely foam rock structure adds interest.
The waterfall on the north mountain is mostly a straight shot down, almost a stairway effect.
Here, most of the natural rock is in place on the north waterfalls, and I'm doing a rough fit check on the bridges.
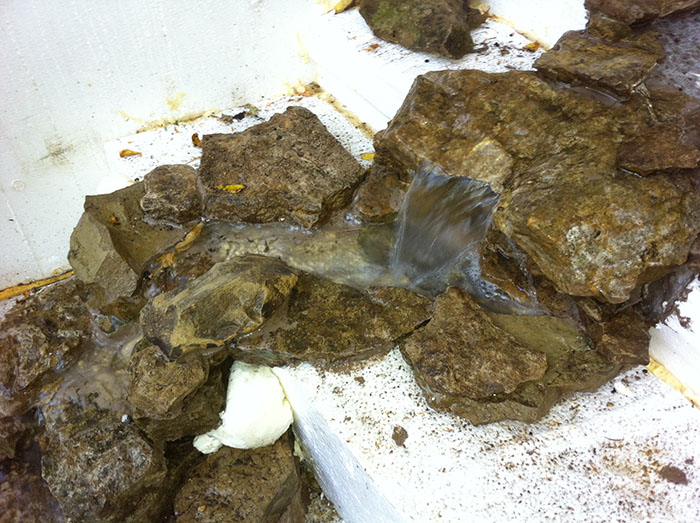
The waterfall looks done, so let's add water. The trick with water is that it does not strictly obey the laws of gravity. It has its own additional laws of hydraulics and funky stuff like that. Therefore, when a waterfall looks like the water should fall, it doesn't always just fall where you thought it should. On the first trial run, I would say only about 80% of the water ended up where it was supposed to be. With each iteration of adjustments, more water went where it was supposed to.
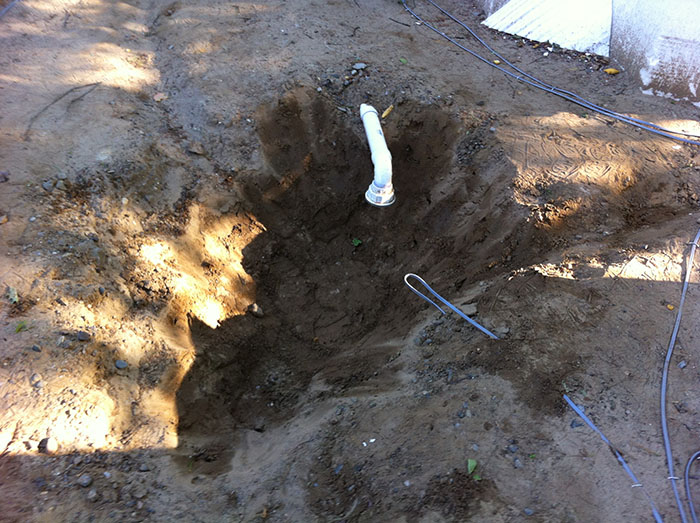
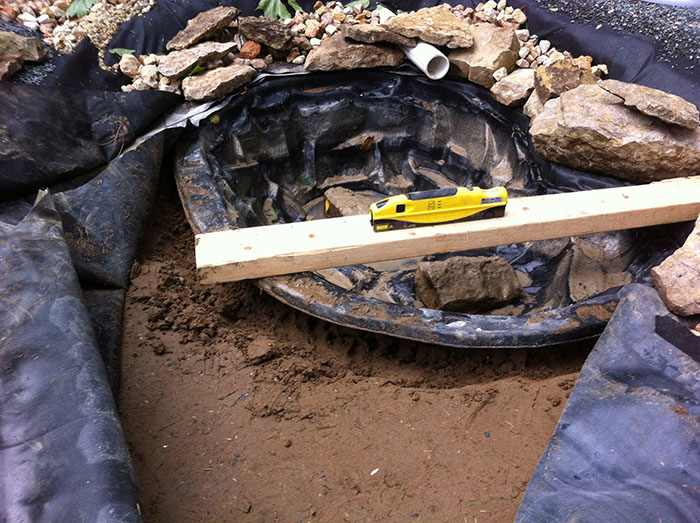
Next, we move onto the ponds. Besides being something to add visual interest, the ponds will serve as the collection basin for water pumped up to the tops of the streams and waterfalls. And if you've already visited the raised bed construction page, you already know the ponds now serve as rain runoff control. Drainage is what the overflow pipe is about. I created the ponds by digging a hole and lining it with 45 mil rubber roofing material. Then layer rock over that.
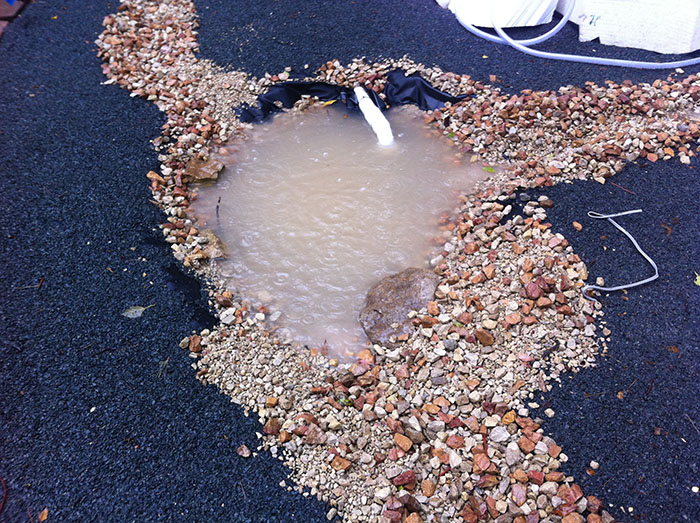
The pond did its job about as well as could be expected. Rain collected in the pond and ran out the overflow pipe. I discovered that once the overflow went away, the water level kept dropping. It turns out I had not watched closely enough when laying the rubber down, and had a low spot under one of the dry creek beds where water was running out. The level that the pond settled to was too low.
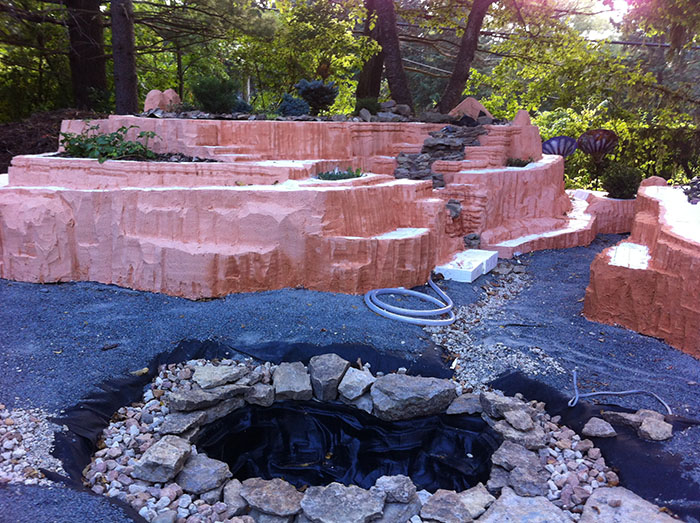
I needed to fix the ponds. I wasn't all that impressed with the appearance of the rubber lined pond anyway. I dug up the rubber liner and put in a hard shell pond liner.
This pond looks better already. The remaining problem is that the runoff in a heavy rain carries a lot of dirt, especially clay from the fill, into the ponds and it takes on a very cloudy appearance that takes days to go away. And even when the water clears, there is still a lot of silt in the pond. I'll dig the pond up one more time in the spring and create a drain field around it for runoff control, and keep the hard shell pond liner just for clean water for the stream. This will also create the opportunity to raise the level of the pond a few more inches. But I have to be careful - the water from the stream still needs to maintain a downhill path.
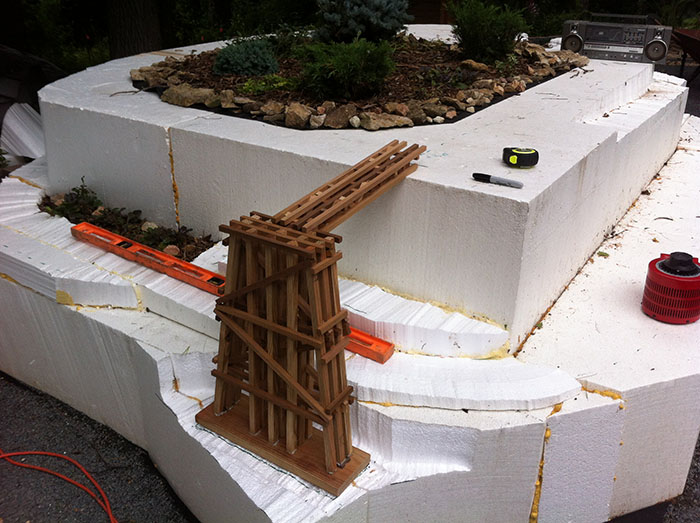
Here I am doing a fit check for one of the trestles that form the piers for the bridge between the two mountains. Therer are some special cuts needed in the foam to prepare for the trestles, girders, and bridges that will link the two mountains.
Now you can see the cuts, on the right, that were being mapped out in the preceding photo. A series of trestles will be at either end of the bridge.
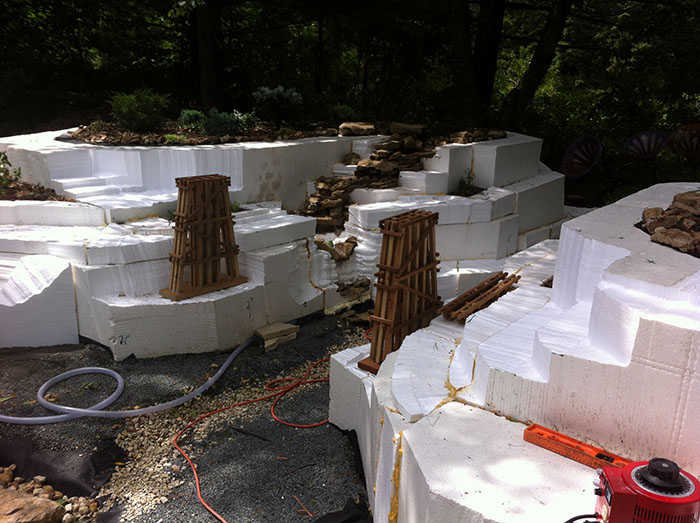
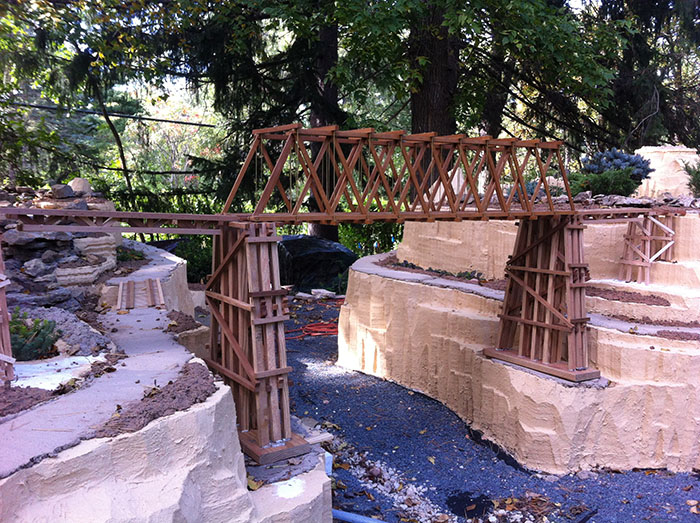
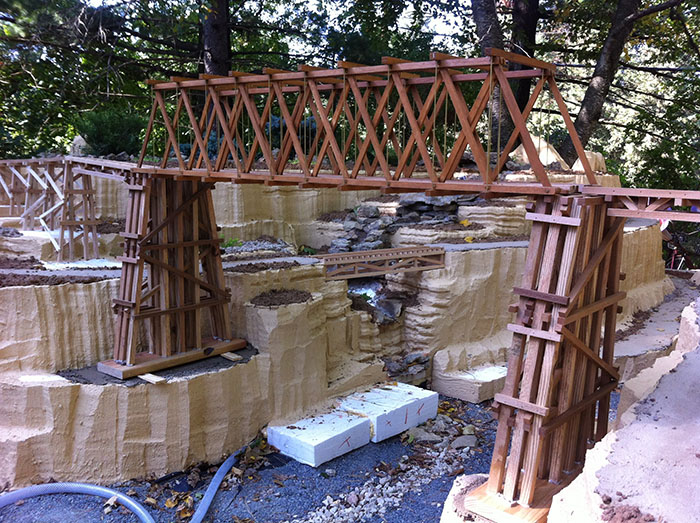
The trestles have been built, and here I am doing a layout check of the entire structure. You can see, on the right, the trestles that were being prepared for in the photos above.
This is the bridge view looking the other direction. The track isn't level yet. I have some final cutting to do when I put down the mortar that will provide the final positioning for the trestles. I need to do a little more work on the bridge piers, too. Those shims aren't supposed to be there.
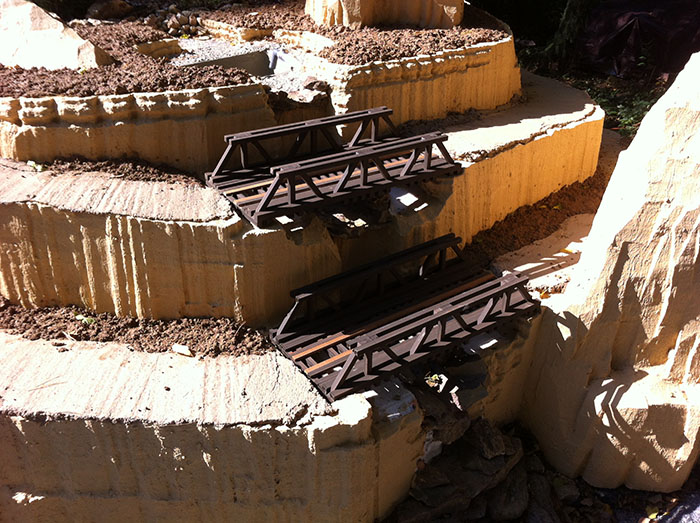
Here I am doing a fit check on the bridges over the stream and waterfalls on the north mountain. It's starting to look nice.
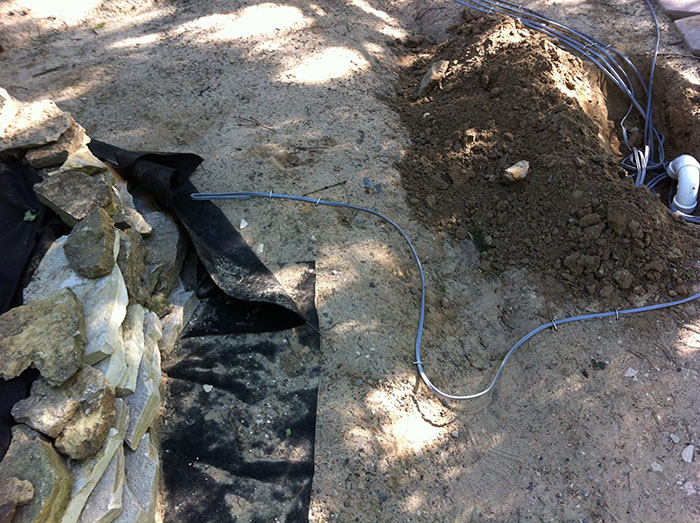
I "buried" a lot of wire, but really just staked it down under the landscape cloth. It will be a lot easier to dig up when I start hooking things up if I don't bury it deep. It isn't going to get walked on much, so I'm not worried about it standing up to wear. All of the wire comes to a pipe I buried under the wall a while back. Once all the wire is run, this gets covered up again.
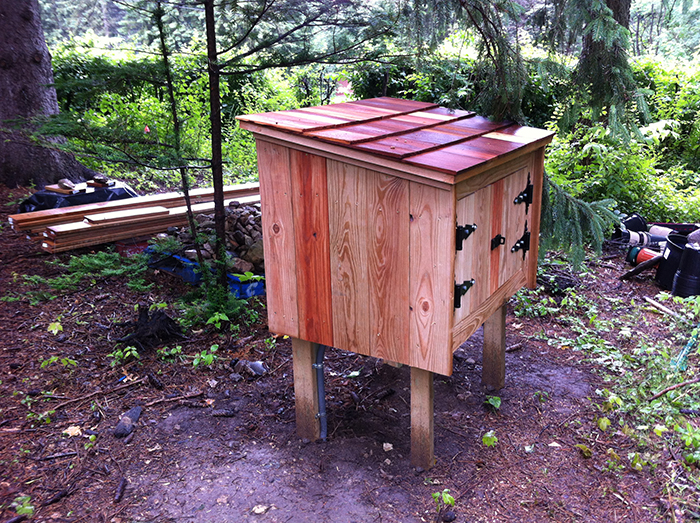
The wire from the layout all terminates in this cute little box I built just for wiring. It sits about 10 feet away from the layout, back more out of the way. Friends not knowing what this was have asked "when did you get rabbits?" or "when did you get chickens?" I didn't know this control box was going to be the source of a few good laughs.
This box has 110VAC coming into it, and a breaker box and outlets both inside and out (on post, other side). I also have switches and breakers for the pond pumps. There is plenty of room inside for power supplies if I find some reason to try track power. I also have a transformer in there for low voltage landscape lighting in the area. The chickens and rabbits will have to find a different home.
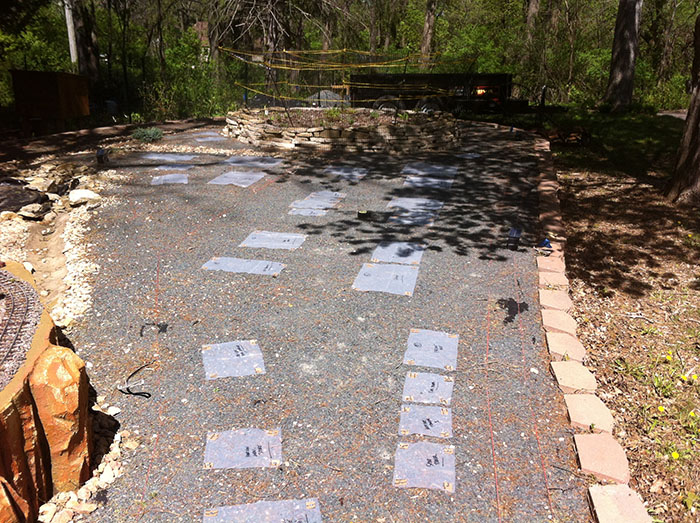
My original plan was to install lighting "someday". But I realized that day would be a lot harder if I didn't put in the wiring before putting down the rest of the track. So I started with a "paper doll" layout of the village with each building represented by an accurately sized plastic footprint of each building. Then I proceeded to lay out all the wiring for buildings and other lighting, and the motion sensors.
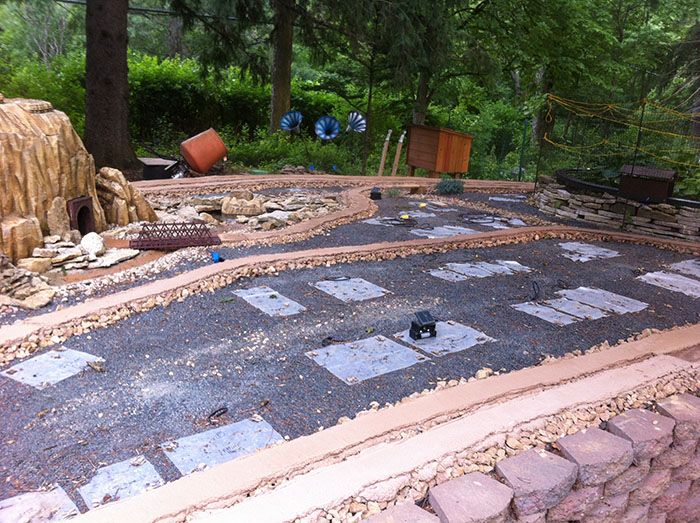
The base was pretty solid already - packed clay/sand mix with landscape cloth and fine gray trap over that. I put down a bed of coarse rock not only as just a base, but one that would allow drainage under and through the base. Then I poured a bed of mortar over that rock to which the track would be affixed.
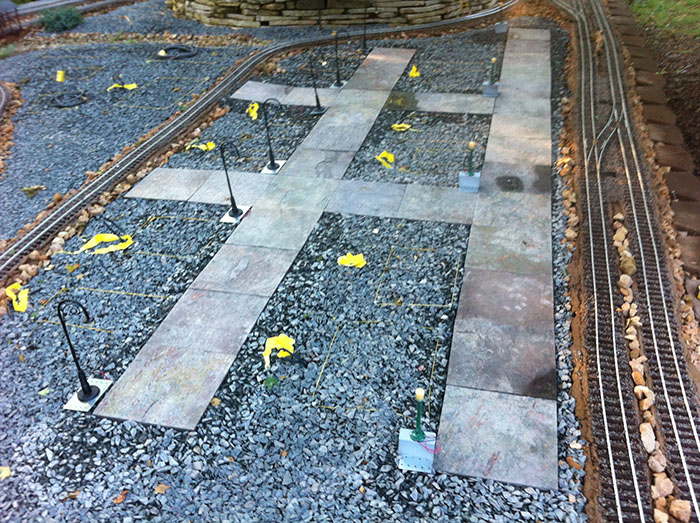
Once the track was down, I added larger gray trap to the surface. The yellow ribbons in this photo are marking the wiring pigtails for connecting buildings and street lights. I retrofitted vintage/antique street light fixtures with LEDs in the front row (green ones), and built the others (black) largely from scratch using bits and pieces of fixtures I purchased along with generic copper tubing and brass wire soldered in as a decorative touch. These resemble photos I've seen of period street lighting. They also have LEDs for bulbs.
I used the gray trap surface because it is easy to work with, and more importantly, simple to selectively remove as I begin placing live plants later. I had considered a variety of alternatives for "streets" and kept looking at different types of bathroom and kitchen tile as options. On one particular trip to Menards, I noticed slate tile and it was far less expensive than other options. Acceptable appearance and especially price convinced me slate tile would make good streets.
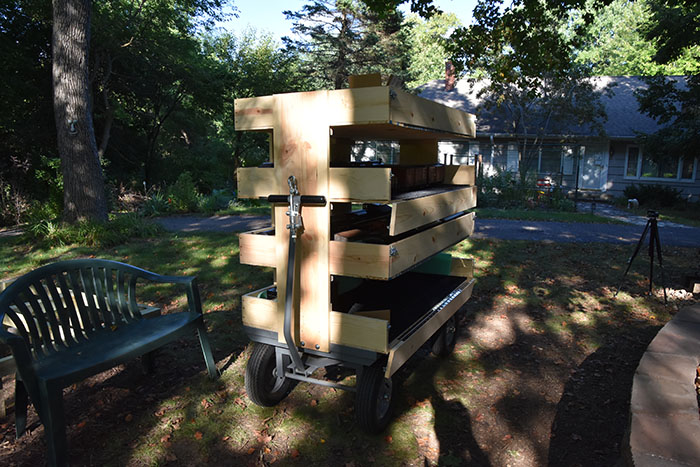
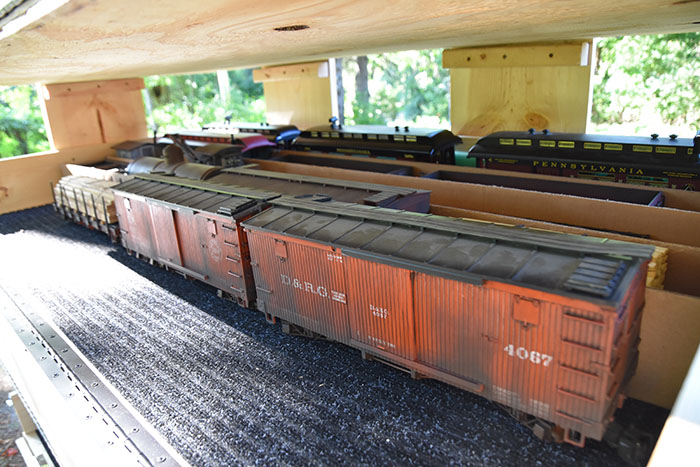
One problem I have on my layout is that it is technically in the front yard. Most layouts are in people's back yards where utility buildings are allowed. Utility buildings are not allowed in front of the house in most city codes. So I built a trailer to haul everything out in one trip. Locomotives go on the bottom since they are heaviest. The trailer itself is quite heavy. This rig holds everything on the layout in one trip. It gets parked in the garage between runs. In the spring and fall, it makes the trip down a path I created (and "paved") to the basement walkout which happens to have a 4-foot wide door. And there, everything spends the winter in my railroad workshop.
It might not look like it holds much judging by the first picture above. Here is a closer peek inside. In spite of maybe looking top heavy, this thing would take effort to push over even when loaded. There is a lot of heavy steel in that heavy duty 30x60 cart, plus the heaviest part of the load goes on the bottom.
I'm still working on creative ideas to create storage located right near the layout. But "creative" means it needs to not look like a utility building, or be any sort of permanent structure.