Construction of the Raised Bed
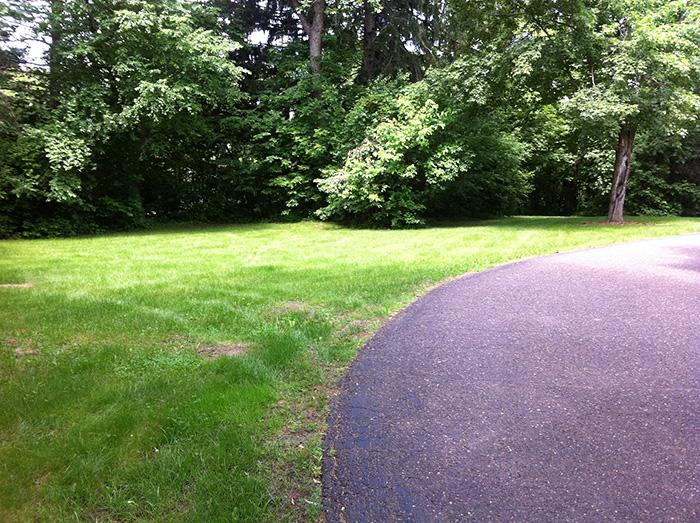
At first glance, this may appear to be a lovely yard. But most of the greenery you see is actually the rather undesirable and invasive Buckthorn. So if we are going to start this story from the very beginning, this is really what it looked like on day zero when we first moved to our new home in late 2013. We call it our "new" home even though it is older than our previous home. Originally built in 1931, our current home has been renovated and added onto at least three times. That's not documented, but we can figure that out looking at the three distinct foundation structures in the basement.
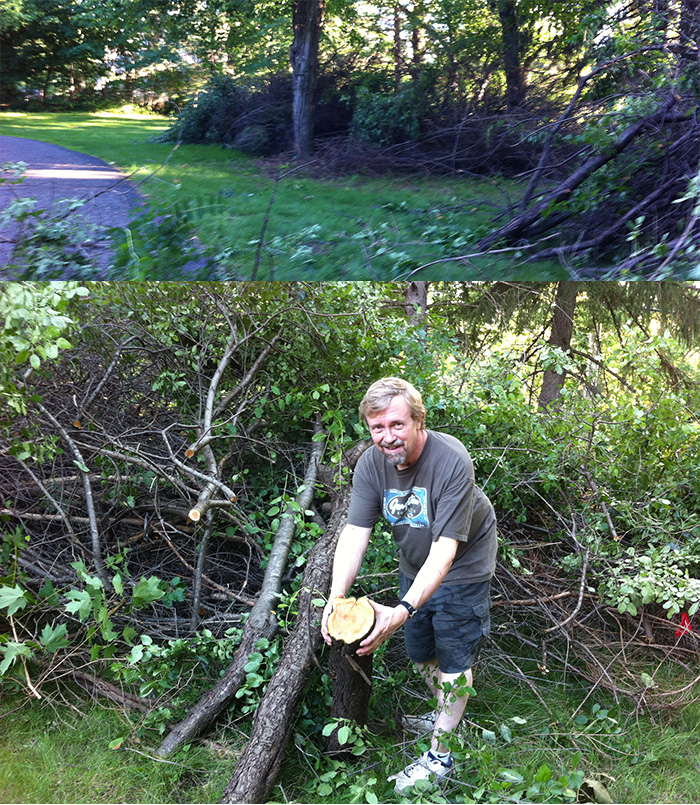
Step one was to clear the Buckthorn. While we generally think of Buckthorn as a shrub, left unchecked long enough, it turns into a gnarly tree with very dense wood. That "log" I'm holding is one of the bigger Buckthorns I hacked down on our property.
If you are unfamiliar with Buckthorn, it is undesirable because it chokes out the native trees that are supposed to be there. Buckthorn was imported from Europe in the 1930's as a hearty hedge. It is not only hearty, it is invasive and spreads wildly. It is essentially the dandelion of the forest.
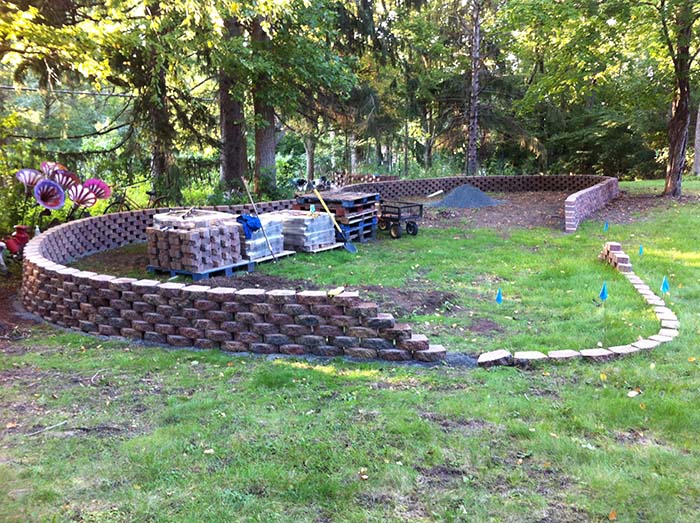
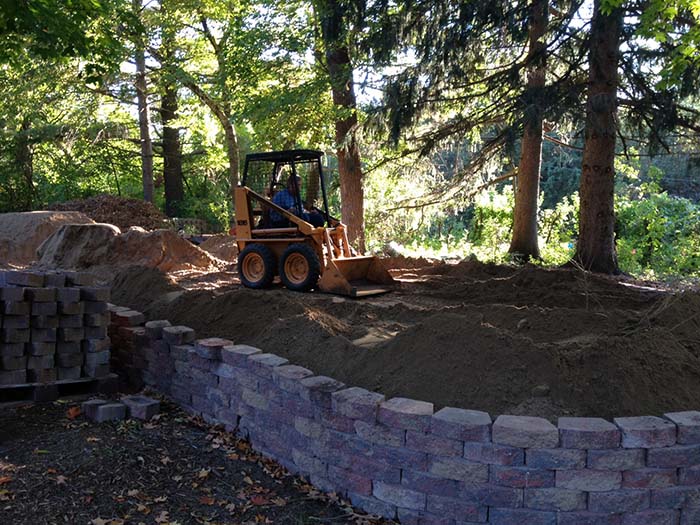
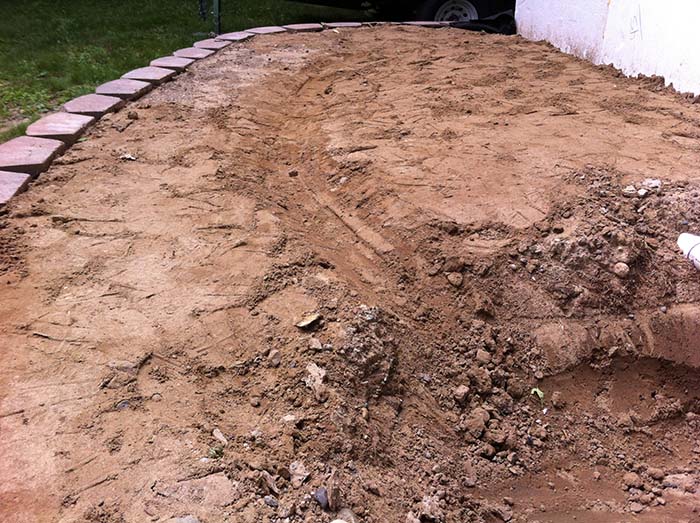
Next, build the retaining wall for the raised garden. An 18-wheeler with one of those funky forklifts hanging off the back pulled up and dropped off 13 pallets of landscape block. I used gray trap for base when setting the block. We live on a rock pile - dig down a few inches and you hit hard clay and rock. Foundation for the wall is pretty good.
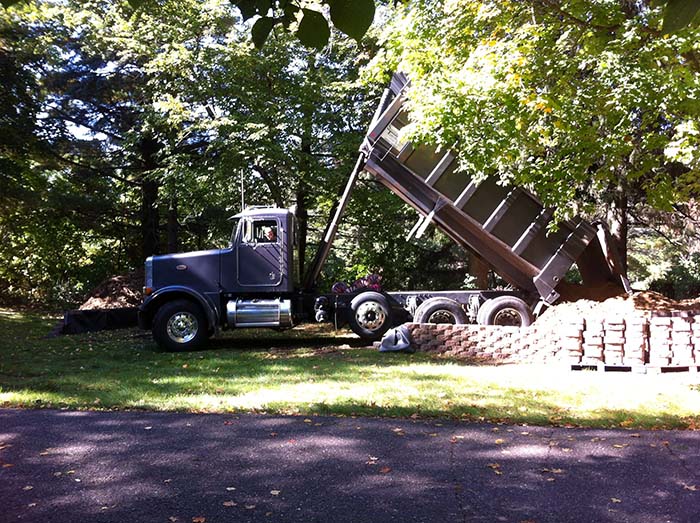
Once the wall was mostly up, the it took 8 dump truck loads of compactable fill to fill the garden to a level of about 2 feet when packed down. I got the first 7 loads in place by having the truck back into the garden area. Then I finished the wall, all but the width of the skid loader. The last load was dumped outside the garden, and moved into place with the skid loader. Then the last few feet of the wall was finished with last bit of fill moved by hand.
This is my idea of a "garden tractor". I originally bought it for filling in the swimming pool at the last house, with the intention of selling it when done. Once I looked at what they charge to rent one of these, I redefined "rent". Buy, use it, sell again for most of what I paid. But I kept finding more projects to use it for, and I'm glad I kept it. Here I am again using it on a big project. It's the most useful garden tractor I could possibly have!
The raised bed is now finished. This is fall 2014, and the plan is to let it sit over winter to settle. The fun stuff starts in the spring of 2015.
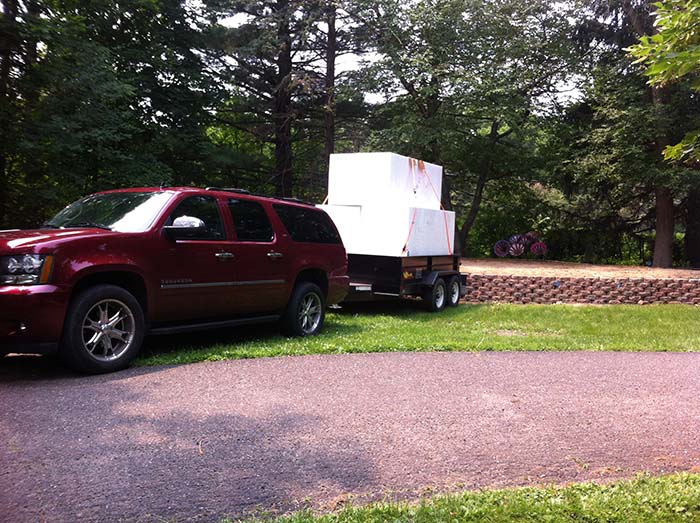
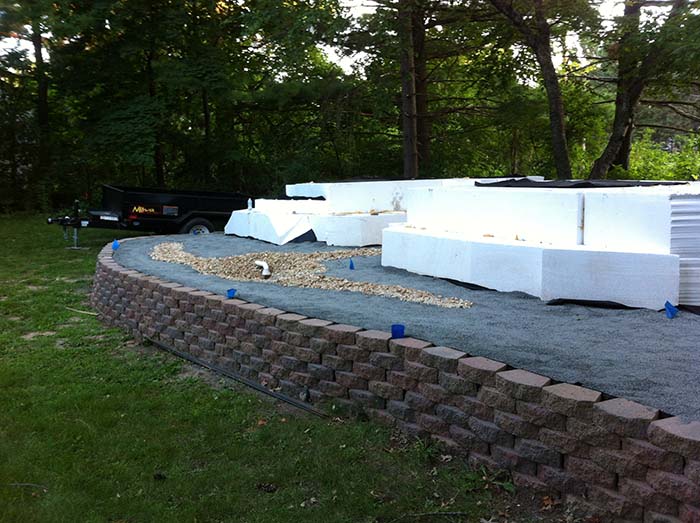
Now fast-forward to 2015. The truckload of foam has been sitting in our company's warehouse since early spring. This is the first of 3 trailer loads to transfer the big foam blocks from the warehouse to the garden.
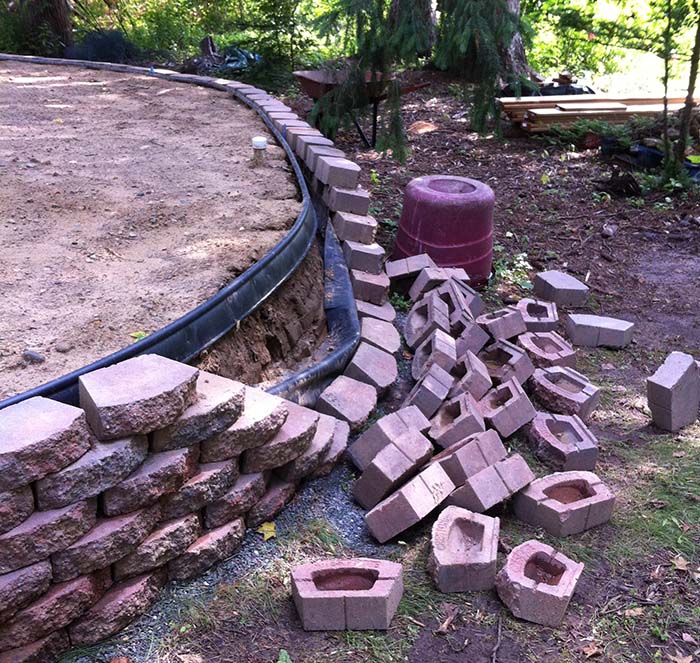
Oops... Well, I thought I was done building the raised bed. Somebody told me after the fact that rubber membrane was not a good idea for liner inside the wall. I would have drainage problems. I figured I could live with standing water that didn't go away fast. What they didn't tell me is that the liner would work like a water balloon and literally blow the wall out.
So I dug down all around the perimiter, ripped out the rubber, and put in landscape cloth.
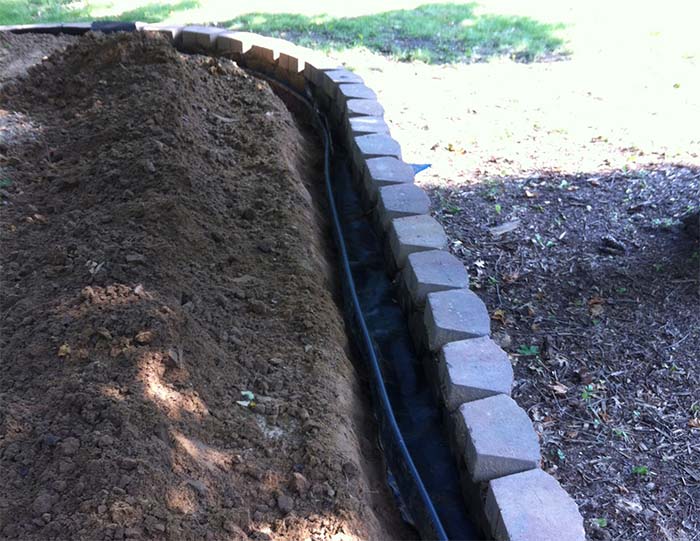
Next problem... I no longer have problems retaining the water inside the wall. In fact, it creates a nice little flash flood and washes the fill right through the wall now. I originally figured the "right" way to contour the fill was mounded in the middle for better drainage. That idea turned out to be wrong. What I needed to do instead was slope the area toward the middle and add drainage. I had planned to have a couple of ponds anyway. I just needed to rethink their construction and make them serve a purpose beyond looking pretty.
I went to work digging up part of the wall for a second time. This time it was to put in the overflow drains for the ponds. I put this little section of wall up now for the third time. Good thing I was using stackable interlocking blocks rather than cement or mortar.
Besides inverting the overall contour of the raised bed, I added dry creeks in strategic places that would be in sync with track layout.
The final treatment of the raised bed was to put down landscape cloth over the entire bed, then cover it with small gray trap. I found that the gray trap was cleaner than just sand or fill as a surface to build upon. Many modelers use this same gray trap as track ballast, so I'll need to use something different just to make the appearance of the track beds different than the overall layout.
And now the good news... we had more than one instance of 4-6 inches of rain overnight in early summer 2015. I let the entire project sit for a few weeks just to test the runoff management now in place. After much rain, including several instances of heavy rain, I was thrilled to see no problems with the wall, no washouts, and drainage was working just the way I wanted. Now let's make some mountains!